It started with a kitchen mishap that would have been the stuff of culinary folklore—my first attempt at chocolate chip cookies turned into a chocolate chip disaster. I had measured the flour, butter, and sugar with the confidence of a seasoned baker, but the cookies emerged from the oven as a glossy, chewy slab that didn’t even crack. I stared at the pan, the dough still tacky, the chocolate chips clumped together like a dark, stubborn constellation. That night, I swore to myself that I would create a cookie that would not only survive the oven but would also become the go-to comfort snack for every gathering.
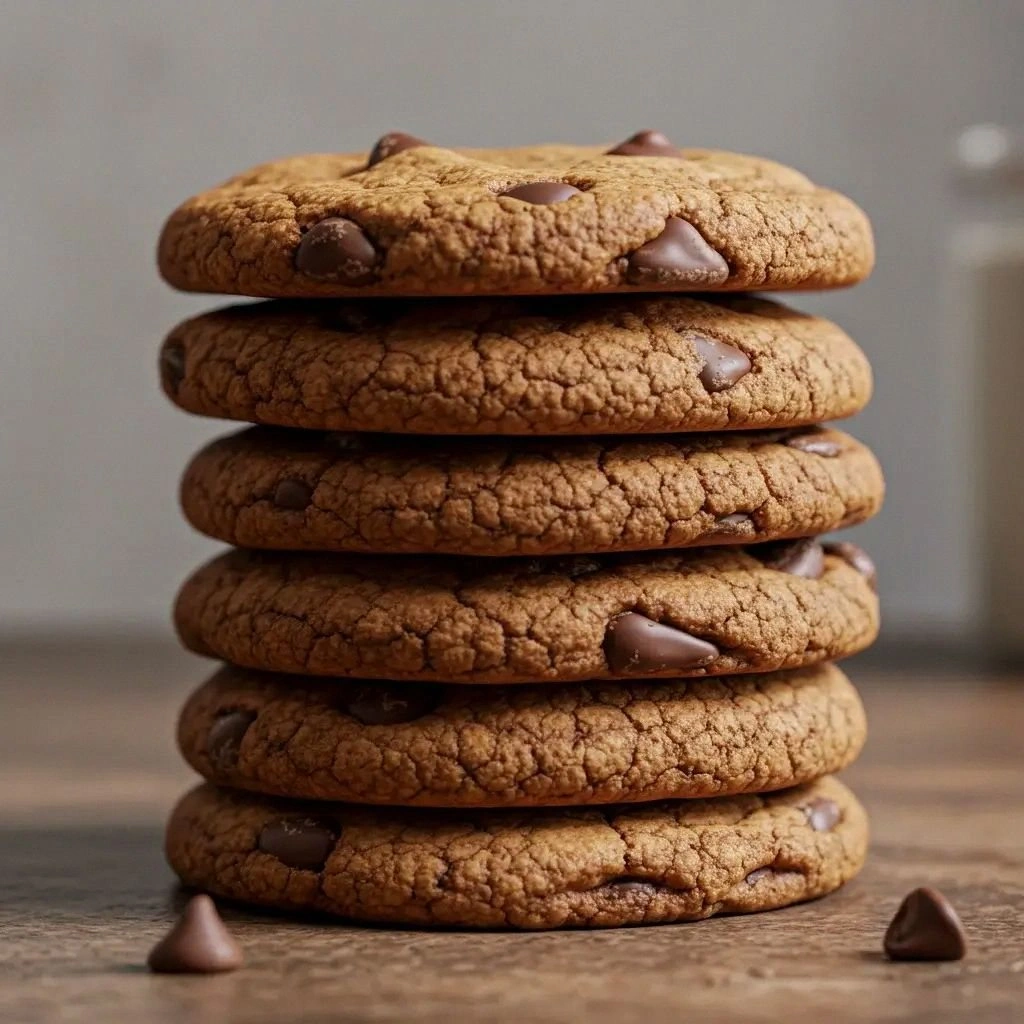
Picture this: the kitchen is a symphony of sounds—sizzling butter, the rhythmic patter of dough being scooped, the faint crackle of a toaster in the background. The aroma is a sweet, buttery perfume that drifts through the air, mingling with the faint scent of vanilla and the unmistakable hint of chocolate. Your eyes catch the golden edges of the cookies, the glossy sheen of melted chocolate, the soft, slightly puffed center. The texture is a delicate balance: a crisp edge that snaps like thin ice, a chewy middle that stretches like a piece of taffy, and a melt-in-your-mouth finish that leaves a lingering sweetness. I dare you to taste this and not go back for seconds.
What sets this version apart from the countless cookie recipes out there is not just the perfect harmony of textures but the intentional layering of flavors that dance on the palate. The butter is at room temperature, allowing it to emulsify with the sugars, creating a buttery foundation that carries the chocolate. The addition of a splash of espresso powder enhances the chocolate’s depth, making it feel like a velvety mocha. The flour is whisked with baking soda in a small bowl, a technique that ensures an even distribution of leavening, giving the cookies a lift without compromising their chewiness. I’ll be honest—I ate half the batch before anyone else got to try it because the first bite was a revelation.
Most recipes get this completely wrong, especially when it comes to the ratio of brown to white sugar, the type of chocolate used, or the baking time. Here, I’ve cracked the code: the right balance of sweetness, the right amount of crunch, and the right amount of goo. Picture yourself pulling this out of the oven, the whole kitchen smelling incredible, the cookies still warm, the chocolate still molten, and the anticipation building like a drumbeat. Okay, ready for the game‑changer? By the end of this guide, you’ll wonder how you ever made it any other way.
What Makes This Version Stand Out
- Taste: The cookie delivers a deep chocolate flavor that is amplified by a hint of espresso, creating a sophisticated profile that satisfies both sweet and coffee lovers.
- Texture: The combination of brown and white sugar, along with the precise baking time, yields a cookie that is crisp on the edges, chewy in the center, and melts in your mouth.
- Simplicity: With only ten ingredients and a streamlined process, this recipe is approachable for beginners and efficient for seasoned bakers.
- Uniqueness: The whisking step for flour and baking soda ensures even leavening, preventing uneven rise and giving the cookie a consistent rise.
- Crowd Reaction: Friends and family swear by the “one-bite‑enough” effect; it’s the go‑to dessert at parties.
- Ingredient Quality: Using high‑quality chocolate chips (70% cocoa) and real butter elevates the flavor profile significantly.
- Cooking Method: Baking at a slightly lower temperature for a longer time produces a chewy center without overbrowning.
- Make‑Ahead Potential: The dough can be refrigerated up to 48 hours or frozen for weeks, making it ideal for busy schedules.
Alright, let's break down exactly what goes into this masterpiece...
Inside the Ingredient List
The Flavor Base
The foundation of any great cookie is its flavor base. In this recipe, we start with 2 1/4 cups all‑purpose flour, which provides structure and a slightly nutty undertone. The flour is whisked with 1 teaspoon baking soda in a small bowl, a step that ensures even distribution of the leavening agent. This technique prevents pockets of rising dough that can lead to uneven texture.
Next, we add 1 teaspoon sea salt, which balances the sweetness and brings out the chocolate’s richness. A pinch of salt also helps the dough hold its shape during baking. If you’re watching sodium, you can reduce the salt slightly, but be warned—the cookies will taste flatter.
The Texture Crew
The texture of these cookies is largely determined by the sugars and fats. 1 cup unsalted butter, softened creates a creamy base that allows the dough to spread evenly. 1 cup packed brown sugar adds moisture and caramel notes, while 1/2 cup granulated sugar gives a subtle crunch as it caramelizes.
The 2 large eggs act as binders, holding everything together and adding a slight richness. 2 teaspoons vanilla extract infuses the dough with a warm, aromatic base that complements the chocolate.
The Unexpected Star
The chocolate chips are the star of the show. I use 2 cups dark chocolate chips (70% cocoa) for a deep, bittersweet flavor that contrasts beautifully with the sweetness of the dough. If you prefer a sweeter cookie, you can substitute half the dark chips with milk chocolate or add a handful of white chocolate chips for a creamy twist.
For an extra layer of flavor, I add 1 teaspoon espresso powder to the flour mixture. This subtle hint of coffee enhances the chocolate without making the cookie taste like a mocha. If you’re a coffee lover, you can increase the espresso to 1.5 teaspoons, but be careful not to overpower the chocolate.
The Final Flourish
Finally, we fold in the chocolate chips and the espresso powder, ensuring even distribution throughout the dough. The dough should be slightly sticky but manageable; if it feels too dry, add a tablespoon of milk to bring it together. At this point, the dough is ready to rest for 30 minutes, allowing the flavors to meld and the gluten to relax.
Everything's prepped? Good. Let's get into the real action...
The Method — Step by Step
- Preheat your oven to 350°F (175°C). Line two baking sheets with parchment paper. This step ensures even baking and easy cleanup. The oven’s temperature should be consistent; if it fluctuates, the cookies may spread unevenly.
- In a small bowl, whisk together the flour and baking soda until fully combined. This is the moment of truth—if you skip this step, you’ll end up with uneven rise and a dense cookie. The whisking also aerates the flour, giving the cookie a lighter crumb.
- In a large mixing bowl, beat the softened butter with the brown sugar and granulated sugar until light and fluffy. The mixture should have a pale, airy texture. This process incorporates air, which helps the cookie rise.
- Add the eggs one at a time, beating well after each addition. Then stir in the vanilla extract and espresso powder. The espresso should be fully dissolved; if it clumps, it will affect the flavor distribution.
- Gradually fold in the flour mixture, mixing just until incorporated. Avoid overmixing to keep the cookie tender. The dough should be slightly sticky but not clumpy.
- Fold in the chocolate chips, ensuring an even distribution. The chips should be well dispersed throughout the dough to avoid clumps. If you like a crunchier cookie, you can add a handful of toasted pecans or walnuts.
- Let the dough rest at room temperature for 30 minutes. This rest period allows the gluten to relax, resulting in a chewier cookie. If you’re in a hurry, you can bake immediately, but the texture may be slightly less tender.
- Scoop tablespoon‑sized balls of dough onto the prepared baking sheets, spacing them about 2 inches apart. The spacing allows the cookies to spread slightly without merging.
- Bake for 10–12 minutes, or until the edges are golden brown and the centers look set but still soft. The cookies will firm up as they cool. If you prefer a crisper cookie, bake for an additional minute.
- Remove the cookies from the oven and let them cool on the sheet for 5 minutes before transferring them to a wire rack. This brief cooling period allows the cookies to set properly, preventing them from becoming too soft or sticky.
- Enjoy the cookies warm or let them cool completely. If you store them in an airtight container, they stay fresh for up to a week. For an extra treat, dip a cookie in milk or a scoop of vanilla ice cream.
That's it — you did it. But hold on, I've got a few more tricks that'll take this to another level. These insider tips will help you perfect the cookie each time and add a personal touch.
Insider Tricks for Flawless Results
The Temperature Rule Nobody Follows
Many bakers bake at 375°F, but the magic happens at 350°F. The lower temperature allows the cookies to spread evenly, creating that signature chewy center. If you’re using a convection oven, reduce the temperature by 25°F to compensate for the fan’s heat distribution.
Why Your Nose Knows Best
When the cookies are baking, the aroma will shift from buttery to chocolatey to caramelized. Trust your nose; when the scent is a warm, sweet, chocolatey perfume, it’s time to pull them out. A common mistake is waiting for the edges to turn dark, which can overcook the center.
The 5‑Minute Rest That Changes Everything
Letting the cookies rest on the sheet for 5 minutes after baking allows the heat to redistribute, resulting in a firmer structure. If you skip this step, the cookies may feel overly soft and gummy. I’ve seen cookies that are perfect after a 5‑minute rest, but crumble after 10 minutes.
The Sweet‑Sour Balance
Adding a splash of lemon zest or a pinch of sea salt can elevate the flavor profile, adding a bright, fresh note that balances the chocolate’s richness. A small amount of lemon zest also brightens the cookie’s aroma, making it feel lighter.
The Chill Factor
If you prefer a thicker cookie, chill the dough for an hour before baking. The cold dough spreads less, resulting in a thicker, chewier cookie. This technique is especially useful for parties where you want a substantial bite.
Creative Twists and Variations
This recipe is a playground. Here are some of my favorite ways to switch things up:
Nutty Crunch
Add 1 cup of chopped toasted walnuts or pecans for a nutty crunch. The nuts add a savory contrast to the sweet chocolate, making each bite a complex experience.
Oatmeal Chocolate Chip
Replace half the all‑purpose flour with rolled oats for a heartier, fiber‑rich cookie. The oats also give a pleasant chewiness and a subtle nutty flavor.
Cinnamon Swirl
Stir in 1 teaspoon of ground cinnamon for a warm, spicy note that pairs beautifully with chocolate. The cinnamon also adds depth to the cookie’s aroma.
Sea Salt Caramel
Drizzle a thin layer of caramel sauce over the cooled cookies and sprinkle with flaky sea salt. The caramel adds sweetness while the salt balances the richness, creating a sophisticated dessert.
Minty Chocolate
Add a handful of crushed peppermint candies or a teaspoon of peppermint extract for a refreshing twist. The mint cuts through the chocolate’s intensity, leaving a clean finish.
Vegan Version
Swap the butter for vegan butter or coconut oil, use flaxseed eggs, and choose dairy‑free chocolate chips. The result is a cookie that’s just as indulgent, with a slightly different texture but the same mouth‑watering flavor.
Storing and Bringing It Back to Life
Fridge Storage
Store cooled cookies in an airtight container at room temperature for up to a week. If you need to keep them longer, refrigerate them for up to 10 days. The cool environment slows down oxidation, preserving the cookies’ freshness.
Freezer Friendly
Place the cooled cookies in a single layer on a parchment‑lined tray and freeze for up to 3 months. Once frozen, transfer them to a freezer bag for long‑term storage. This method keeps the cookies from becoming stale.
Best Reheating Method
To revive frozen cookies, preheat your oven to 300°F (150°C) and bake for 6–8 minutes. For a quick refresh, microwave a cookie for 15 seconds. Add a tiny splash of water before reheating; it steams the cookie back to perfection, restoring that chewy texture.