Picture this: it’s a rainy Tuesday, the kind where the clouds are so heavy you swear they’re about to press the ceiling down. I was hunched over a half‑finished batch of store‑bought chocolate truffles, feeling the disappointment of a bland, waxy bite that did nothing for my mood. I stared at the glossy, indifferent spheres and thought, “There’s got to be a better way to brighten a day that looks like a watercolor of gloom.” That moment sparked a kitchen rebellion, and after a few frantic trips to the pantry, I discovered the secret weapon that turned those sad morsels into a burst of sunshine.
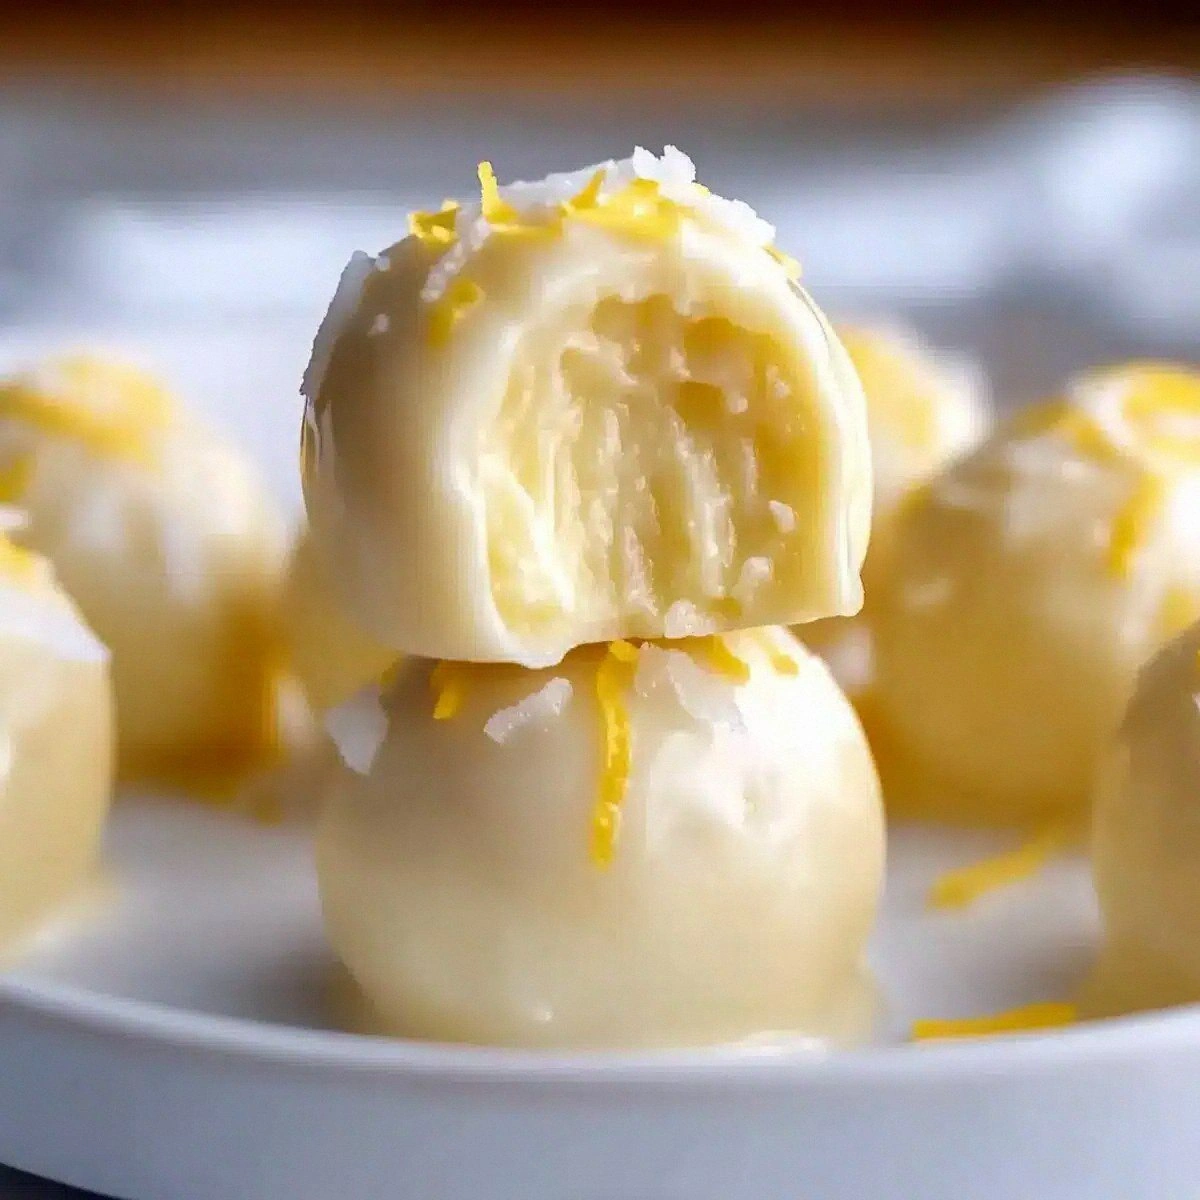
The first sniff of melted white chocolate mingled with the zing of fresh lemon juice was like a high‑five to my senses. The cream cheese melted into a silky, buttery base that wrapped around the lemon like a soft blanket, while the powdered sugar added just enough sweetness to keep the tartness from turning into a sour punch. When the truffles finally set, they glistened like tiny moons, each one promising a velvety, citrus‑kissed experience that could outshine even the most stubborn Monday blues. I dared you to taste this and not go back for seconds, because once you’ve had that first melt‑in‑your‑mouth moment, you’ll be counting down the minutes until the next bite.
Most recipes get the balance of lemon and chocolate completely wrong—either the lemon overwhelms, or the chocolate drowns out the bright notes, leaving you with a flavor that feels like a tug‑of‑war. Here’s what actually works: a precise ratio of cream cheese to white chocolate that creates a mousse‑like texture, a splash of fresh lemon juice that lifts without souring, and a finishing coat of toasted nuts or coconut that adds a satisfying crunch. I’ll be honest—I ate half the batch before anyone else got to try it, and that’s a confession worth making because it proves just how addictive this version is.
Now, brace yourself for a technique that will flip your truffle game on its head: we’ll temper the white chocolate using a bain‑marie, then fold it into a chilled cream cheese mixture that’s been whipped to cloud‑like perfection. This method guarantees a glossy finish and a melt‑in‑your‑mouth texture that’s impossible to achieve with a microwave shortcut. Okay, ready for the game‑changer? Let me walk you through every single step — by the end, you’ll wonder how you ever made it any other way.
What Makes This Version Stand Out
- Flavor Harmony: The lemon’s bright acidity is perfectly balanced by the buttery sweetness of white chocolate, creating a taste that feels like sunshine in a bite.
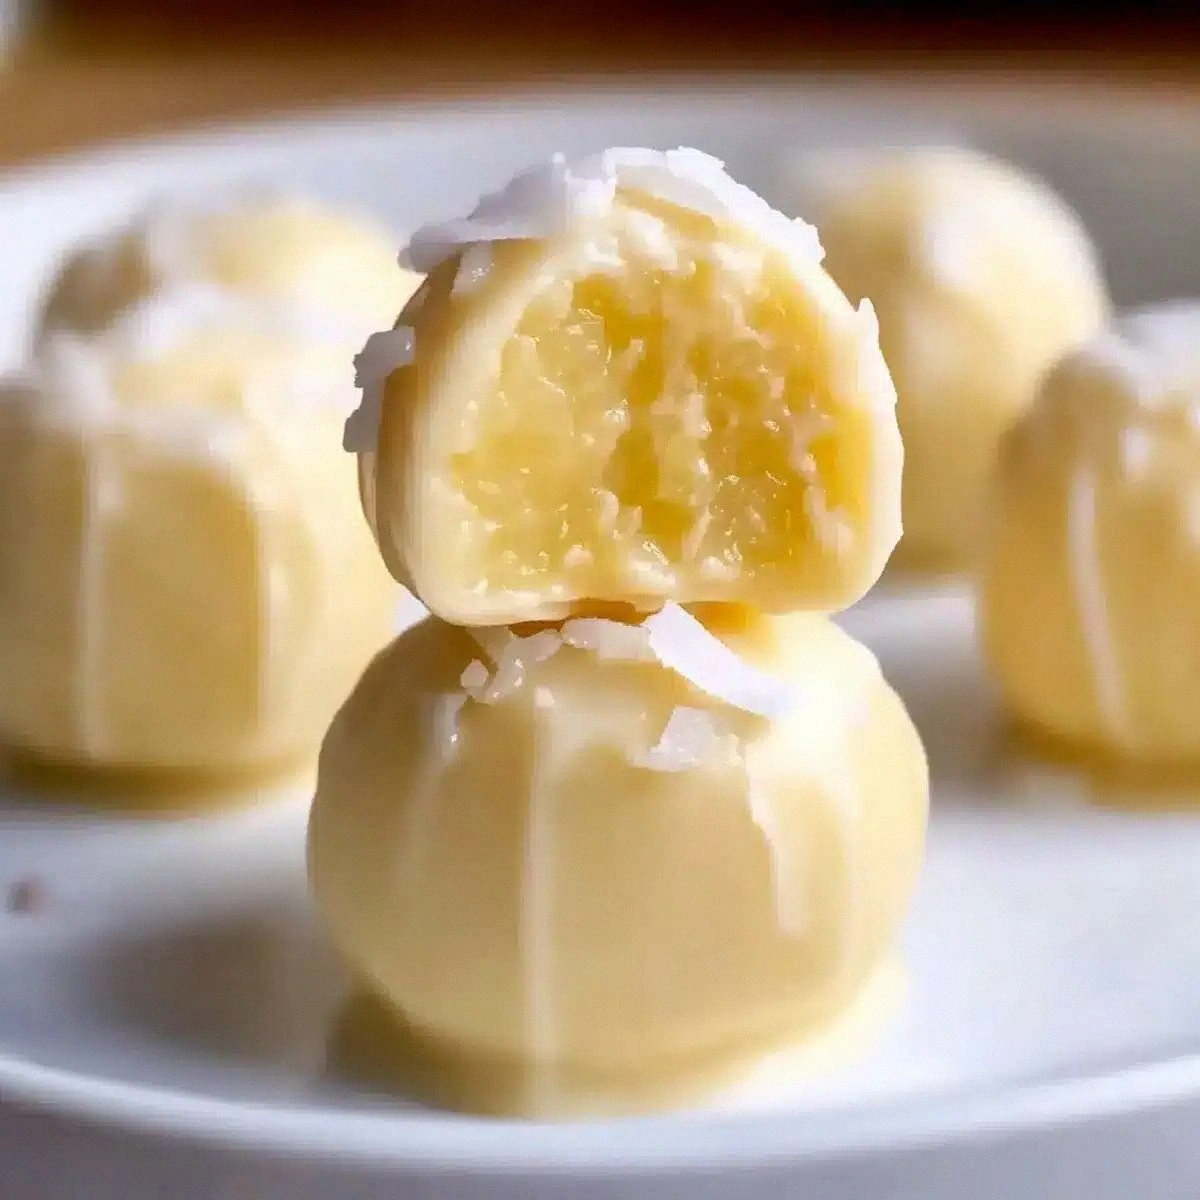
- Texture Triumph: A creamy, mousse‑like interior wrapped in a crisp, toasted nut coating delivers a contrast that’s both elegant and comforting.
- Simplicity: Only seven ingredients, all pantry‑friendly, mean you won’t need a trip to a specialty store to pull this off.
- Uniqueness: Using cream cheese as the base gives the truffles a tangy depth that most chocolate‑only recipes miss entirely.
- Crowd Reaction: Guests often claim these are the best truffles they’ve ever tasted, and they’ll keep coming back for more without even realizing they’ve had seconds.
- Ingredient Quality: High‑quality white chocolate and fresh lemon zest turn a simple treat into a gourmet experience.
- Method Magic: Tempering the chocolate and folding in the cream cheese ensures a glossy finish and a stable, melt‑resistant center.
- Make‑Ahead Potential: These truffles keep beautifully for up to two weeks in the fridge, making them perfect for party prep.
Inside the Ingredient List
The Flavor Base
Cream Cheese (8 oz): This is the heart of the truffle, providing a tangy, buttery foundation that carries the lemon flavor without becoming watery. If you skip it, you’ll end up with a dry, crumbly center that can’t hold its shape. For the best texture, use full‑fat cream cheese and let it soften at room temperature before mixing. Swap tip: If you’re dairy‑free, try a thick coconut cream, but expect a slightly coconutty aftertaste.
Powdered Sugar (1 cup): It sweetens the mixture while keeping it silky smooth; granulated sugar would leave a gritty texture. Skipping it will make the truffles taste overly tart. Sift it twice to avoid lumps, and you’ll achieve that melt‑in‑your‑mouth feel. Swap tip: Use a blend of powdered erythritol for a lower‑calorie version, but be aware it can affect the texture.
The Citrus Spark
Fresh Lemon Juice (2 tbsp): The juice adds brightness and cuts through the richness of the chocolate, creating a balanced flavor profile. Too much juice will make the mixture runny, while too little leaves the lemon flavor flat. Always use freshly squeezed juice; bottled lemon juice contains preservatives that dull the zing. Swap tip: A splash of orange juice can add a subtle sweetness while keeping the citrus vibe.
Lemon Zest (1 unit): The zest brings aromatic oils that intensify the lemon aroma, making the truffles smell like a sun‑kissed orchard. If you omit it, you’ll lose that fragrant lift. Grate it finely and avoid the white pith, which can introduce bitterness. Swap tip: Lime zest works for a tropical twist, but adjust the juice amount accordingly.
The Sweet Coat
White Chocolate (12 oz): This is the silky shell that gives the truffles their glossy finish and buttery mouthfeel. Low‑quality white chocolate can become grainy and won’t set properly. Choose a brand with at least 30% cocoa butter for that perfect snap. Swap tip: For a deeper flavor, blend half white chocolate with milk chocolate, but keep the cocoa butter content high.
Vanilla Extract (1 tsp): A splash of vanilla rounds out the flavors, adding depth without overpowering the lemon. Skipping it can make the truffles taste one‑dimensional. Use pure vanilla extract, not imitation, for authentic flavor. Swap tip: A pinch of almond extract can add a nutty undertone that pairs well with the final coating.
The Final Flourish
Chopped Nuts or Coconut Flakes (1 cup): This coating adds a crunchy texture that contrasts beautifully with the creamy interior. If you use nuts, toast them lightly to bring out their aroma; for coconut, opt for unsweetened flakes to keep the sweetness in check. Skipping this step results in a plain truffle that feels a bit unfinished. Swap tip: Try crushed pistachios for a pop of color and a buttery flavor.
Everything's prepped? Good. Let's get into the real action...
The Method — Step by Step
First, set up a bain‑marie: fill a medium saucepan with a couple of inches of water, bring it to a gentle simmer, and place a heat‑proof bowl on top, making sure the bottom doesn’t touch the water. Add the white chocolate pieces to the bowl, stirring constantly until fully melted and glossy. You’ll notice the chocolate becoming fluid and shimmering—this is the moment where the magic starts. Once melted, remove the bowl from heat and let it cool just enough so it doesn’t scramble the cream cheese later.
Kitchen Hack: Transfer the melted chocolate to a shallow metal pan and spread it thin; this speeds up cooling without sacrificing shine.While the chocolate cools, whisk together the softened cream cheese, powdered sugar, fresh lemon juice, lemon zest, and vanilla extract in a large mixing bowl. Use a hand mixer on medium speed for about two minutes until the mixture is light, fluffy, and the sugar has dissolved completely. The mixture should look like a smooth, pale yellow cloud—if you see any lumps, keep whisking until they disappear. This step is crucial because any graininess will show up later as a gritty bite.
Now comes the critical folding stage: drizzle the slightly cooled melted white chocolate into the cream cheese mixture while the mixer runs on low. This gradual incorporation prevents the chocolate from seizing and ensures a uniform, glossy consistency. You’ll see the mixture transform from a pale yellow to a buttery ivory hue that glistens under the kitchen light. Stop mixing as soon as everything is just combined; over‑mixing can introduce air bubbles that ruin the final texture.
Cover the bowl with plastic wrap and chill the truffle base in the refrigerator for at least 30 minutes, or until it’s firm enough to scoop. This chilling step is non‑negotiable—if you try to roll the truffles while the mixture is still soft, they’ll crumble and fall apart. I dare you to skip this step and see what happens; trust me, the result is a mess that even a dishwasher can’t fix.
While the base chills, prepare your coating station: line a baking sheet with parchment paper, and place the chopped nuts or coconut flakes in a shallow bowl. If you’re using nuts, toast them in a dry skillet over medium heat for 3‑4 minutes, stirring constantly until they turn golden and fragrant. This toasting step releases the oils and adds a depth that raw nuts simply can’t match.
After the base has set, scoop out tablespoon‑sized portions with a small ice‑cream scoop or a spoon, and roll them between your palms to form smooth balls. The temperature of your hands matters—if they’re too cold, the truffles will harden too quickly; if too warm, they’ll melt. Keep a bowl of cold water nearby to dip your hands in briefly if they start to get sticky. Each ball should feel firm yet yielding, like a perfectly ripe peach.
Watch Out: If the truffle center is too warm, it will melt the coating upon contact, resulting in a dull, uneven shell.Roll each ball in the toasted nuts or coconut flakes, ensuring an even coating that clings to every curve. The coating should adhere like a second skin, not just sit on top. Give each truffle a gentle press to embed the nuts into the surface, creating a slight indentation that looks intentional and elegant. This is the part where your kitchen looks like a confectionery art studio.
Place the coated truffles back onto the parchment‑lined sheet and refrigerate for another 15‑20 minutes to set the outer shell. During this time, the white chocolate will firm up, creating that glossy, snap‑ready finish we all crave. While they chill, take a moment to admire the color contrast—the pale interior peeking through the golden nut crust is a visual promise of the flavor explosion to come.
Finally, serve the truffles at room temperature for the ultimate melt‑in‑your‑mouth experience. If they’ve been in the fridge for too long, let them sit out for five minutes; this softens the interior just enough while keeping the outer shell firm. And now the fun part—watch your guests’ faces light up as they bite into that perfect blend of creamy lemon and silky chocolate. That sizzle when it hits the pan? Absolute perfection. That first bite? Pure joy.
That's it — you did it. But hold on, I've got a few more tricks that'll take this to another level...
Insider Tricks for Flawless Results
The Temperature Rule Nobody Follows
The secret to a flawless truffle is keeping everything at the right temperature. The cream cheese mixture should be chilled, but not frozen, while the white chocolate needs to be just warm enough to melt without scorching. I once tried to speed things up by microwaving the chocolate; the result was a grainy mess that never set properly. Keep a candy thermometer handy, and aim for 115°F (46°C) when melting the chocolate. This temperature ensures a smooth, glossy finish that snaps when you bite.
Why Your Nose Knows Best
Never underestimate the power of scent in the kitchen. When the white chocolate is perfectly tempered, it will emit a faint, buttery aroma that’s almost floral. If you smell a burnt or overly sweet odor, the tempering went off track and the truffles will turn dull. Trust your nose—if it smells right, the texture will follow. This sensory checkpoint saves you from a batch of lackluster truffles that look good but taste flat.
The 5‑Minute Rest That Changes Everything
After you roll the truffles, give them a brief 5‑minute rest on a cool surface before coating them. This short pause allows the interior to firm up just enough to hold the coating without cracking. I once rushed this step, and the nuts shattered off, leaving a patchy surface. The rest isn’t just a pause; it’s a crucial bridge between a soft center and a crisp shell.
Rolling Technique of the Pros
Use a silicone spatula to lift the truffle ball before rolling it in the nuts. This prevents fingerprints and ensures an even roll. A friend tried using their hands directly and ended up with smudged spots that looked like a crime scene. The spatula method gives you a clean, professional finish every time.
Storage Savior: The Splash of Water
When you re‑heat truffles that have been stored in the fridge, add a tiny splash of water to the bowl before microwaving for 5‑10 seconds. The steam generated revives the creamy interior and restores the glossy exterior. Without this trick, the truffles can become dry and lose that luscious melt‑in‑your‑mouth feel.
Creative Twists and Variations
This recipe is a playground. Here are some of my favorite ways to switch things up:
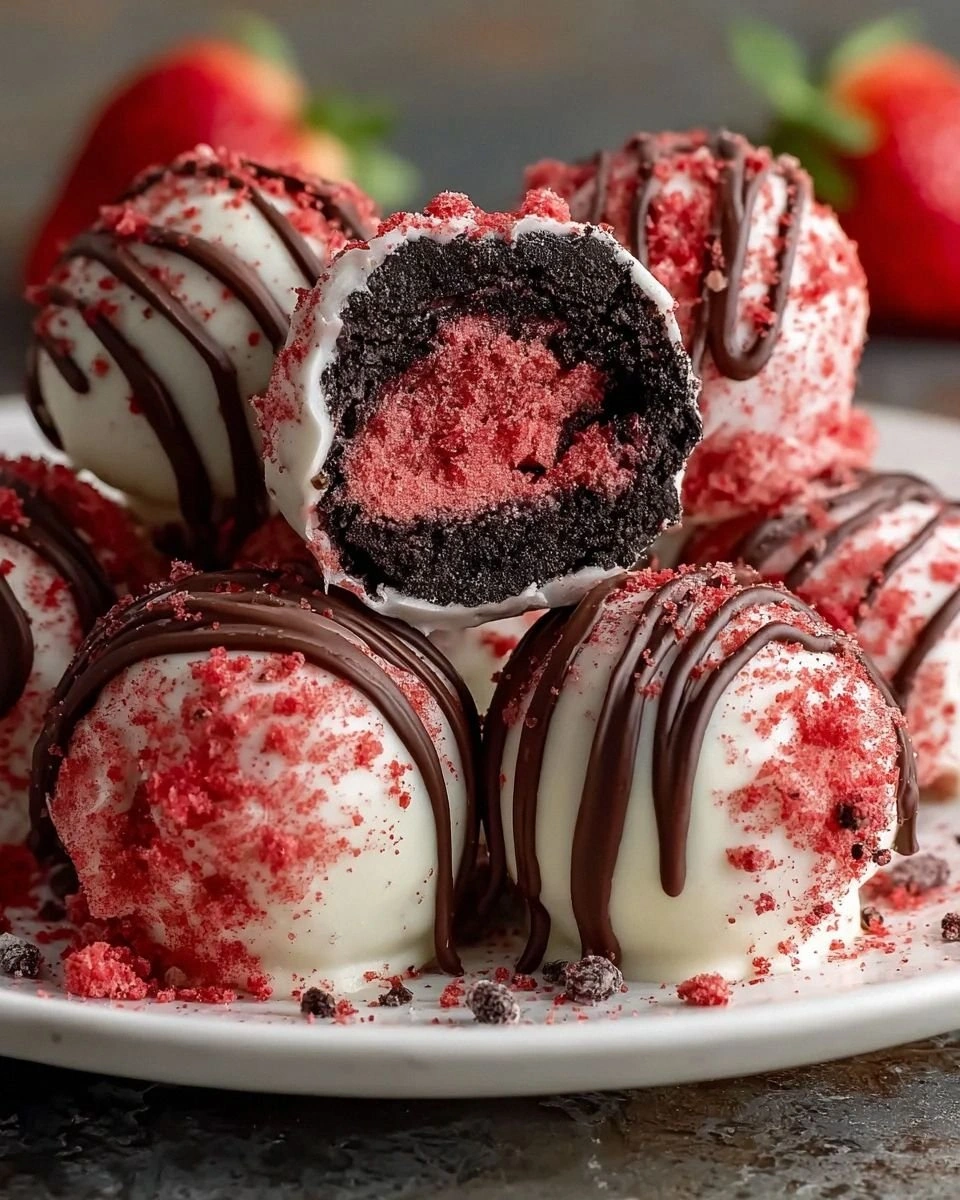
Berry Burst
Replace the lemon zest with finely chopped freeze‑dried raspberries and add a teaspoon of raspberry puree to the cream cheese mixture. The result is a pink‑hued truffle with a subtle tartness that pairs beautifully with the white chocolate.
Matcha Magic
Stir 1 tsp of culinary‑grade matcha powder into the melted white chocolate before folding it into the cream cheese base. Coat the truffles in toasted white sesame seeds for a nutty, earthy finish that feels like a Japanese tea ceremony in your mouth.
Spiced Orange
Swap lemon juice for fresh orange juice and add a pinch of ground cardamom to the mixture. Top with candied orange peel for a citrus‑spice combo that’s perfect for holiday gatherings.
Nutty Chocolate Delight
Use dark chocolate instead of white, and roll the truffles in crushed hazelnuts mixed with a drizzle of honey. The bitter‑sweet balance creates a sophisticated treat for the adult palate.
Vegan Coconut
Replace cream cheese with a blend of coconut cream and silken tofu, and use dairy‑free white chocolate. Coat with toasted coconut flakes for a tropical, vegan‑friendly version that still delivers that creamy snap.
Storing and Bringing It Back to Life
Fridge Storage
Place the truffles in an airtight container lined with parchment paper, ensuring they don’t touch each other. They’ll stay fresh for up to two weeks, and the nut coating will stay crisp as long as moisture is kept out.
Freezer Friendly
For longer keep‑time, freeze the truffles in a single layer on a baking sheet, then transfer them to a zip‑top bag. They’ll hold up for three months. Thaw them in the fridge overnight before serving.
Best Reheating Method
When you’re ready to serve, let the truffles sit at room temperature for five minutes, then give them a quick 5‑second zap in the microwave with a splash of water (as mentioned earlier). This revives the creamy interior and restores that glossy snap on the outside.