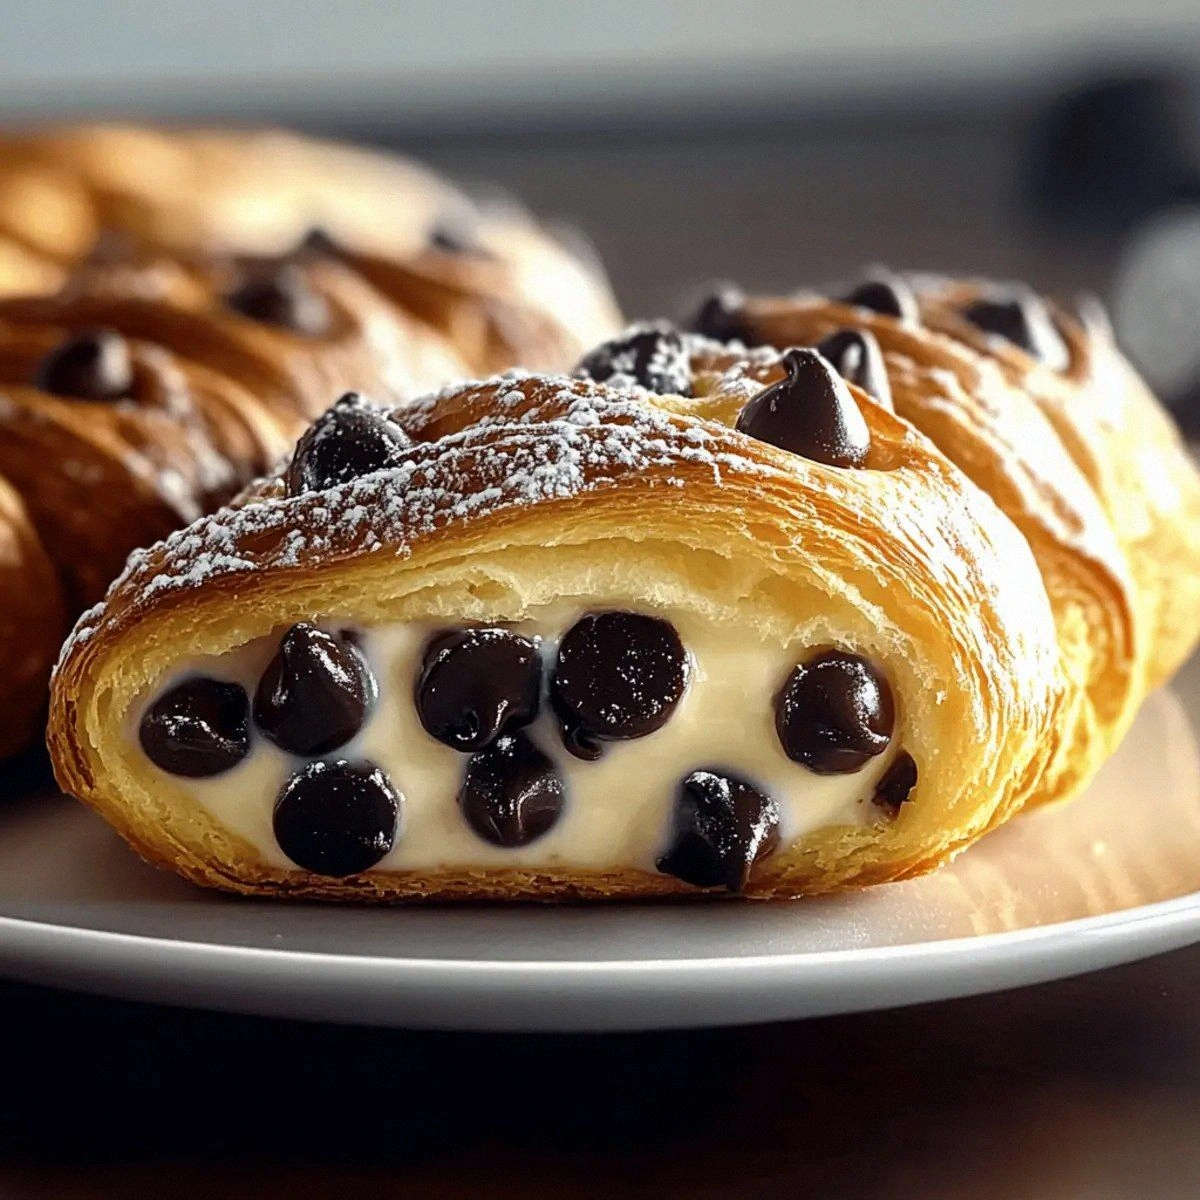
I was in the middle of a frantic weekday dinner when my roommate dared me to create something that would make a grown‑up kid’s heart melt. I grabbed whatever was in the pantry, tossed a handful of chocolate chips into the bowl, and somehow ended up with a dough that felt like a cloud and a custard that whispered vanilla with every bite. The kitchen filled with the buttery perfume of melted butter and the sweet perfume of vanilla, while the oven hummed like a satisfied cat. When the first brioche emerged, its golden crown cracked open to reveal a glossy, buttery custard that oozed like a sunrise over a chocolate‑studded sea. I’ll be honest — I ate half the batch before anyone else got a chance to try it, and that’s why I’m daring you to taste this and not go back for seconds.
Most recipes for chocolate chip brioches either skimp on the custard or drown the dough in sugar, leaving you with a cloying mess that sticks to the roof of your mouth. This version, however, balances the airy, buttery crumb of a classic French brioche with a silky vanilla custard that’s thick enough to hold its shape yet light enough to melt on your tongue. Imagine a pillow‑soft bun that cradles a custard filling so smooth it slides across your palate like satin, while the chocolate chips provide little pockets of molten delight that snap and crackle with each bite. The secret? A double‑proofing method that builds flavor layers, plus a splash of vanilla‑infused custard that’s cooked on the stovetop to perfection before being folded into the dough.
What truly sets this recipe apart is the unexpected addition of a tiny amount of cornstarch to the custard, which gives it that velvety body without turning it gummy. I also use whole milk instead of cream, which keeps the custard from becoming overly rich while still delivering that luxurious mouthfeel. The result is a brioche that’s not just a pastry; it’s an experience that makes you feel like you’ve just stepped into a Parisian café, even if you’re in a cramped apartment kitchen. Picture yourself pulling this out of the oven, the whole kitchen smelling incredible, and the first bite sending a wave of sweet, buttery bliss through your senses.
Okay, ready for the game‑changer? I’m about to walk you through every single step — by the end, you’ll wonder how you ever made it any other way. Stay with me here — this is worth it.
What Makes This Version Stand Out
- Flavor Harmony: The vanilla custard and chocolate chips sing together like a duet, each note enhancing the other without overpowering the buttery brioche base.
- Texture Contrast: A pillowy, slightly chewy crumb meets a silky, custardy center, while the chocolate chips add a satisfying snap that shatters like thin ice.
- Simplicity: Despite the impressive results, the ingredient list is short and the steps are straightforward, perfect for both beginners and seasoned bakers.
- Unique Technique: Double‑proofing the dough builds depth, and cooking the custard on the stovetop ensures a perfectly smooth filling without a blender.
- Crowd Reaction: These brioches have a habit of disappearing within minutes of being placed on a cooling rack — a true testament to their addictive nature.
- Ingredient Quality: Using real butter, whole milk, and high‑quality vanilla extract makes the difference between “good” and “jaw‑dropping.”
- Make‑Ahead Potential: You can freeze the unbaked buns and bake them fresh later, or store the custard in the fridge for up to three days.
- Versatility: Serve them warm for breakfast, as an indulgent dessert, or even as a sweet snack with coffee.
Inside the Ingredient List
The Flavor Base
All‑purpose flour is the backbone of any good brioche, providing structure while still allowing the dough to stay tender. If you substitute bread flour, you’ll get a chewier texture that can feel a bit too dense for this delicate custard‑filled treat. I always recommend a high‑quality, unbleached flour for the most neutral flavor that lets the butter and vanilla shine. Pro tip: Sift the flour with the sugar and salt to aerate it, which helps the dough rise evenly.
The Sweeteners
We use two types of sugar: a quarter cup of granulated sugar in the dough for a subtle sweetness, and a half cup of sugar in the custard to give it that glossy, caramel‑like finish. If you’re watching your sugar intake, you can reduce the dough sugar to 2 tablespoons, but keep the custard sugar intact — it’s the custard’s star player. The sugar also feeds the yeast, encouraging a stronger rise and a lighter crumb.
The Texture Crew
Unsalted butter appears twice: half a cup melted into the dough and two tablespoons folded into the custard. The butter in the dough creates those famous flaky layers, while the butter in the custard adds silkiness and a glossy sheen. If you’re using salted butter, cut back on the added salt to avoid a briny surprise. The whole milk contributes richness without the heaviness of cream, keeping the custard light enough to pair with the airy brioche.
The Unexpected Star
Cornstarch is the unsung hero of this custard. Just two tablespoons thicken the mixture without making it gummy, giving it that luxurious, spoon‑coating texture. Skipping it will result in a runny custard that leaks out of the buns during baking. If you’re gluten‑free, cornstarch is also a safe thickener that won’t affect the flavor.
The Final Flourish
Mini chocolate chips are the perfect size for brioches because they melt evenly without overwhelming the delicate dough. If you prefer a more intense chocolate punch, use dark chocolate chips or even chopped bittersweet chocolate. A pinch of sea salt sprinkled on top before baking will amplify the chocolate’s flavor and balance the sweetness of the custard.
Everything's prepped? Good. Let's get into the real action...

The Method — Step by Step
In a small saucepan, combine the whole milk, half a cup of granulated sugar, and a pinch of salt. Warm over medium heat, stirring until the sugar dissolves and the mixture is just below a simmer — you’ll see tiny bubbles forming around the edges. Watch out: Do not let the milk boil, or it will scorch and give the custard a bitter note. Once the mixture is hot, remove from heat and set aside to cool slightly.
While the milk cools, whisk together the flour, quarter‑cup sugar, and active dry yeast in a large mixing bowl. Make a well in the center and crack in the three large eggs, then pour in the melted butter. Using a wooden spoon or stand‑mixer's dough hook, combine until a shaggy dough forms.
Kitchen Hack: If the dough sticks to the bowl, dampen your hands with a little water instead of adding more flour; this keeps the dough light.Knead the dough for about 8‑10 minutes until it becomes smooth, glossy, and pulls away from the sides of the bowl. It should pass the “windowpane test”: stretch a small piece; if it becomes thin enough to see light through without tearing, you’ve achieved the right gluten development. Transfer the dough to a lightly oiled bowl, cover with plastic wrap, and let it rise in a warm spot for 1 hour, or until doubled in size.
Meanwhile, make the custard. In a separate saucepan, whisk together the egg yolks (reserve the whites for the egg wash), cornstarch, and vanilla extract until smooth. Gradually pour the warm milk mixture into the yolk mixture, whisking constantly to prevent curdling. Return the mixture to the stove over low heat, stirring continuously until it thickens and coats the back of a spoon — about 5‑7 minutes. Remove from heat and whisk in the two tablespoons of unsalted butter until fully incorporated. Let the custard cool to room temperature, then cover and refrigerate for at least 30 minutes.
Once the dough has risen, punch it down to release excess air, then turn it out onto a lightly floured surface. Roll the dough into a rectangle about ½‑inch thick. Spread a thin layer of the chilled custard over the surface, leaving a ½‑inch border around the edges. Sprinkle the mini chocolate chips evenly across the custard, pressing them lightly so they adhere.
Starting from the long side, roll the dough tightly into a log, then slice it into 12‑14 equal pieces, each about 1‑inch thick. Place each piece seam‑side down on a parchment‑lined baking sheet, spacing them a few inches apart to allow for a second rise.
Watch Out: If the rolls are too close, they’ll fuse together, resulting in a single giant brioche instead of individual buns.Cover the shaped buns loosely with a clean kitchen towel and let them proof for a second rise, about 45 minutes, or until they’ve puffed up and look slightly domed. While they’re proofing, whisk together the remaining large egg with a splash of water to create an egg wash. Brush the tops of the buns gently; this will give them that glossy, bakery‑style finish.
Preheat your oven to 375°F (190°C). Bake the brioches for 18‑22 minutes, or until they’re a deep golden brown and sound hollow when tapped on the bottom. The edges should pull away slightly from the pan, a sign that the interior is fully cooked. This next part? Pure magic. As soon as they’re out of the oven, let them cool on a wire rack for 10 minutes before serving — this lets the custard set just enough to stay inside without spilling.
Finally, dust the warm brioches with a light sprinkle of powdered sugar, if desired, and serve them while the custard is still warm and the chocolate chips are just beginning to melt. That first bite? Expect a buttery, pillowy bite that gives way to a luscious vanilla custard that coats your tongue like silk, punctuated by pockets of molten chocolate that snap delightfully.
That's it — you did it. But hold on, I've got a few more tricks that'll take this to another level...
Insider Tricks for Flawless Results
The Temperature Rule Nobody Follows
Never let cold ingredients meet hot ones. Always bring the butter, eggs, and milk to room temperature before mixing. If you skip this step, the dough can become shaggy and refuse to rise properly, leading to dense brioches. I once tried to rush the process by using straight‑from‑fridge butter, and the result was a dough that clumped like a sad lump of mashed potatoes. Trust me, a few minutes of patience pays off in a fluffier crumb.
Why Your Nose Knows Best
When the dough has risen, you’ll notice a subtle sweet aroma and a slight puffiness. That scent is your cue that the yeast has done its job. If you rely solely on the clock, you might under‑ or over‑proof, which affects texture. I’ve learned to trust my nose more than the timer, especially on humid days when dough rises faster.
The 5‑Minute Rest That Changes Everything
After shaping the buns, let them rest for five minutes before the final proof. This short pause relaxes the gluten, allowing the buns to expand evenly during the second rise. Skipping this rest can cause the buns to split unevenly, exposing the custard and creating a less appealing appearance. A quick rest is a tiny step with a massive payoff.
Egg Wash Precision
A single egg whisked with a tablespoon of water creates the perfect sheen. Brush gently; too much pressure can flatten the buns, while too little leaves a dull surface. The result? A bakery‑level gloss that makes the brioches look as good as they taste.
Cooling Strategy
Let the brioches cool on a wire rack, not a solid surface. This prevents steam from making the bottoms soggy and keeps the crust crisp. If you’re in a hurry, a quick 5‑minute fan blast can accelerate cooling without compromising texture.
Creative Twists and Variations
This recipe is a playground. Here are some of my favorite ways to switch things up:
Matcha‑Infused Custard
Add 1‑2 teaspoons of high‑quality matcha powder to the custard for a subtle earthy flavor and a gorgeous green hue. Pair with white chocolate chips for a harmonious contrast. Perfect for a spring brunch.
Nutty Crunch
Stir in a quarter cup of toasted chopped almonds or hazelnuts into the dough before the first rise. The nuts add a pleasant crunch that complements the soft interior and adds a nutty aroma.
Cinnamon‑Swirl
Mix 1 tablespoon of cinnamon and 2 teaspoons of brown sugar into the butter before spreading it on the dough. Roll and slice as usual for a cinnamon‑sugar swirl that evokes a cozy winter morning.
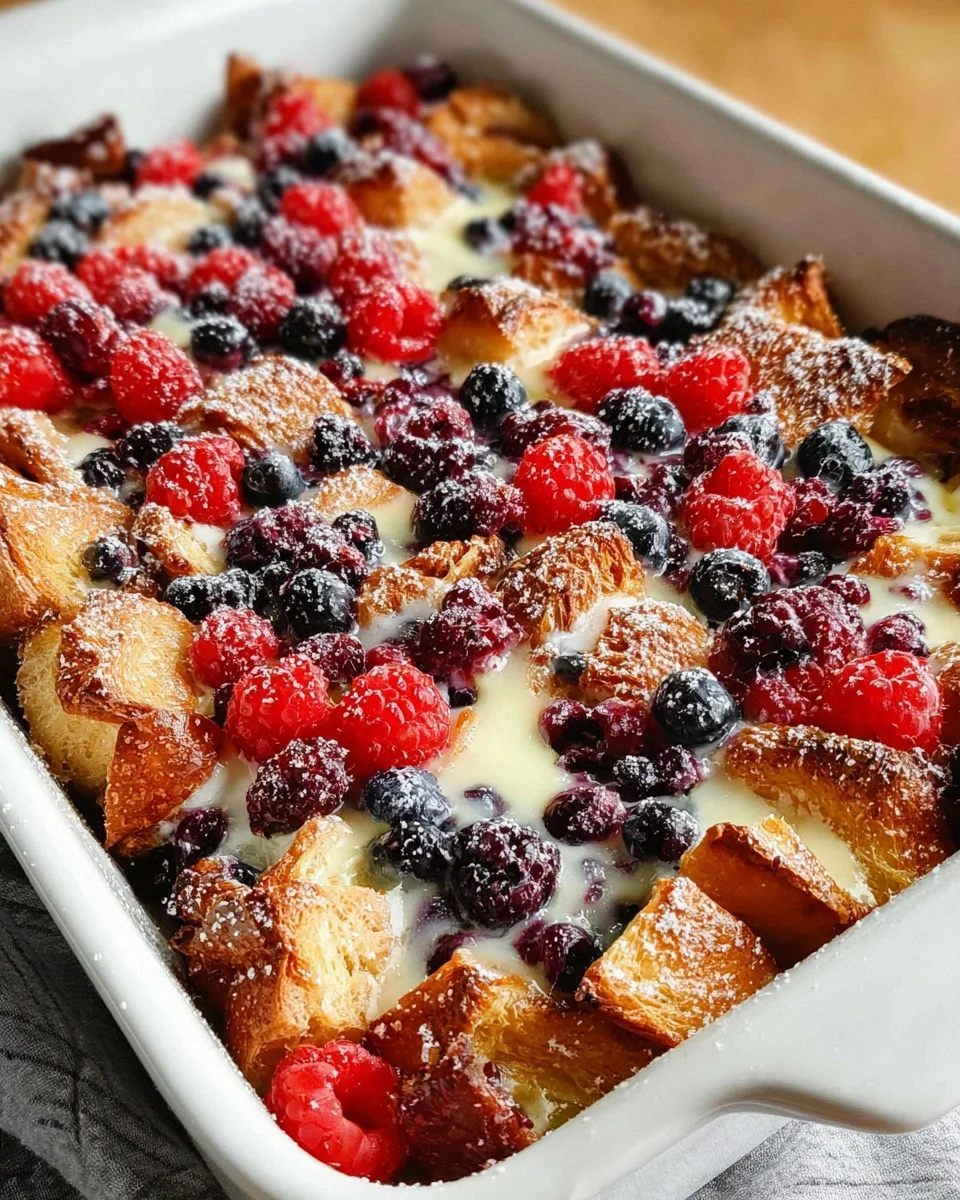
Berry Burst
Fold in a half cup of fresh raspberries or blueberries into the custard before chilling. The fruit releases a gentle tartness that cuts through the richness, creating a balanced bite.
Savory Surprise
Swap the mini chocolate chips for shredded sharp cheddar and add a pinch of smoked paprika to the dough. Fill with a savory herb custard (using cheese and herbs instead of sugar) for a brunch‑worthy twist.
Storing and Bringing It Back to Life
Fridge Storage
Place cooled brioches in an airtight container or zip‑top bag. They stay fresh for up to 4 days. If you notice the crust drying out, add a slice of fresh bread to the container to maintain humidity.
Freezer Friendly
Freeze unbaked buns on a parchment sheet, then transfer them to a freezer bag. They’ll keep for up to 2 months. When ready, let them thaw overnight in the fridge, then give them a final proof before baking as usual.
Best Reheating Method
To revive day‑old brioches, preheat the oven to 300°F (150°C), place the buns on a baking sheet, and sprinkle a tiny splash of water over each. Cover loosely with foil and heat for 8‑10 minutes. The steam restores moisture, while the gentle heat brings back that golden crust.