Picture this: it’s a chilly February afternoon, the kind where the wind whistles through the cracks in the window frame and the world outside looks like a watercolor wash of gray. I was hunched over my laptop, attempting to write a deadline‑driven report, when the scent of freshly ground coffee beans burst through the kitchen like a tiny, caffeinated fireworks display. The steam curled upward, flirting with the light that managed to sneak past the clouds, and I thought, “If I can’t finish this report, at least I can finish a dessert that makes the heart skip a beat.” That moment of aromatic inspiration turned into a dare from my roommate—she challenged me to create a coffee‑infused treat that could survive the harshest winter palate and still feel like a warm hug on a mug.
Fast forward two hours later, I was standing over a mixing bowl that looked like a battlefield of flour clouds, cocoa dust, and dark coffee swirls. My kitchen was a symphony of sounds: the whir of the mixer, the gentle hiss of the coffee as it hit the batter, and the occasional clink of a spoon against the glass. The smell? Imagine a French patisserie that decided to flirt with a downtown espresso bar—rich, nutty, with a whisper of chocolate that made my nose do a little happy dance. When I tasted the first spoonful, I felt an electric jolt of satisfaction; it was like the first sip of a perfectly pulled espresso—bold, balanced, and undeniably comforting. I’ll be honest—I ate half the batch before anyone else could even peek at the plate, because why not?
Most recipes for coffee‑flavored desserts either drown the coffee in sugar or treat it as an afterthought. This version, however, embraces the coffee as the star, letting it shine through a tender crumb while still delivering that melt‑in‑your‑mouth texture you crave from a classic cake. The secret? A splash of espresso‑strong brewed coffee folded in at the very end, plus a dash of dark chocolate that adds depth without overwhelming the delicate balance. I dare you to taste this and not go back for seconds; it’s that good. And trust me, the next part? Pure magic.
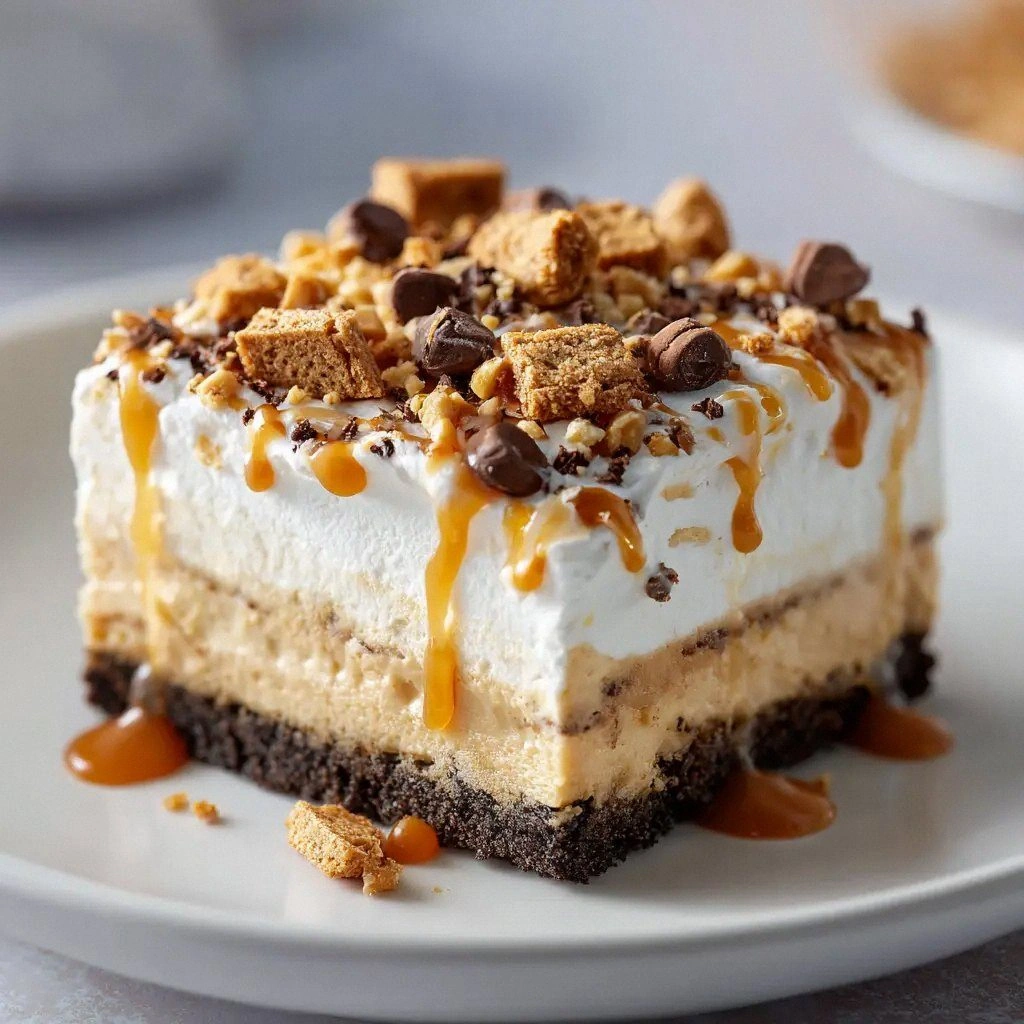
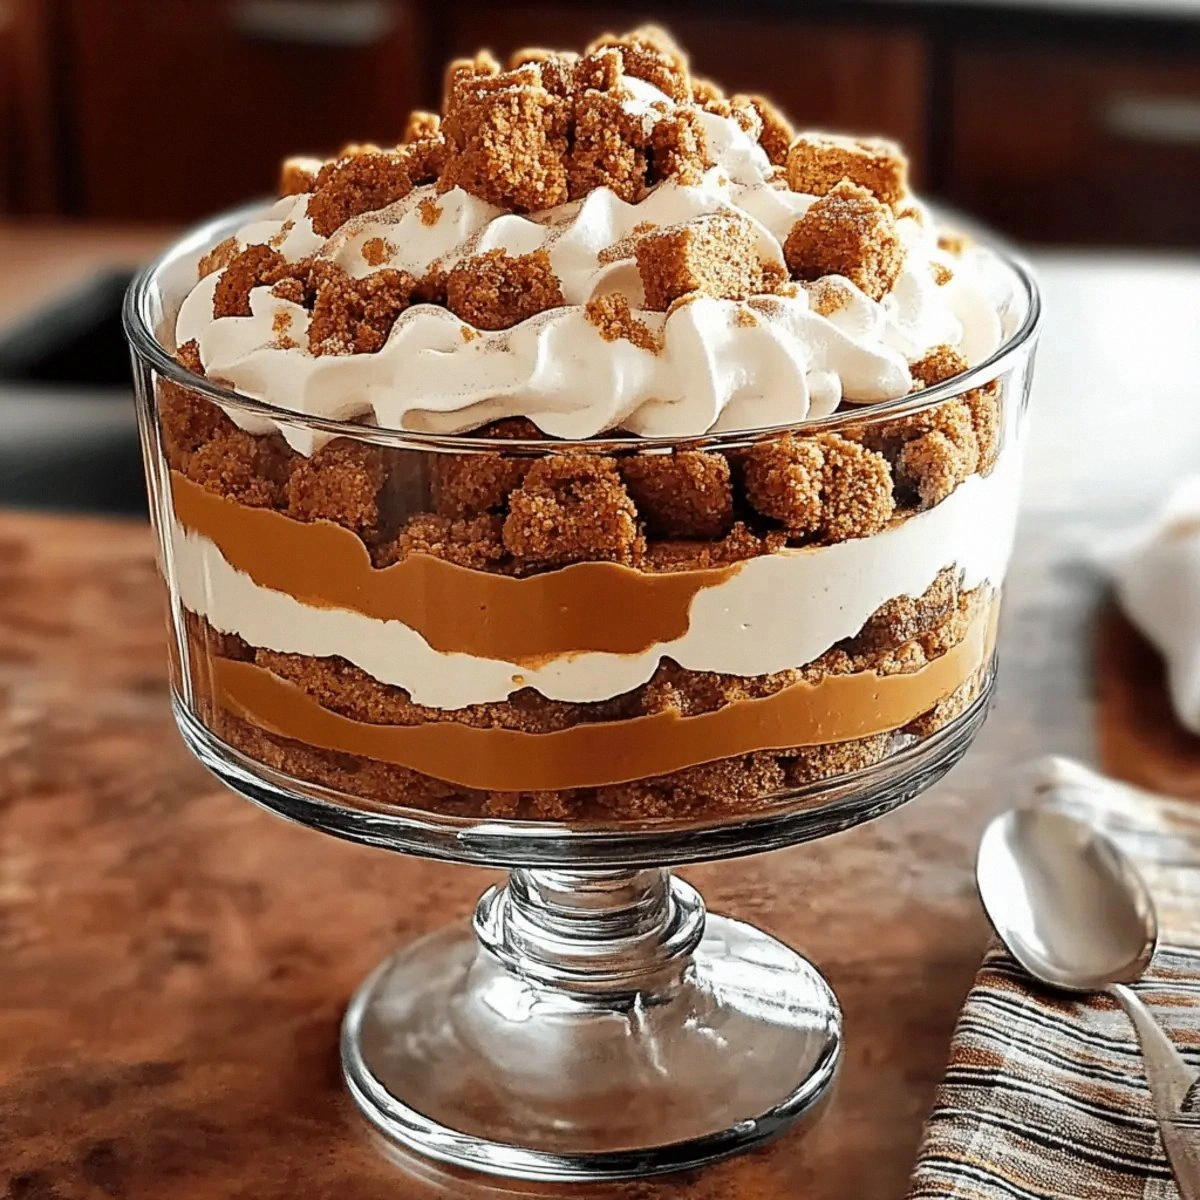
What truly sets this February Coffee Date apart is the way the espresso‑infused glaze glistens on top, catching the light like a midnight drizzle on a cobblestone street. I’ve spent countless evenings perfecting the balance between bitter and sweet, and the result is a dessert that feels both indulgent and sophisticated—perfect for a romantic evening or a solo treat that feels like a celebration. Picture a moist, buttery cake that cradles a luscious espresso‑toffee frosting, each bite delivering a gentle snap of caramel followed by a lingering coffee kiss. Most recipes get this completely wrong, either drowning the cake in syrup or leaving the coffee flavor as an afterthought. Here, the espresso is folded into the batter, the frosting is a silky espresso‑caramel that sets a glossy crown, and the final dusting of cocoa powder adds a whisper of intrigue. If you’ve ever struggled with a coffee cake that ends up dry or bland, you’re not alone—and I’ve got the fix.
What Makes This Version Stand Out
- Bold Espresso Flavor: The coffee isn’t just a hint; it’s the backbone of the cake, delivering that deep, roasted intensity that coffee lovers worship.
- Velvety Caramel Frosting: A silky espresso‑toffee glaze that sets a glossy sheen, creating a contrast between the soft crumb and the firm, buttery top.
- Moisture Mastery: By incorporating brewed coffee and melted butter at the right temperature, the cake stays tender for days without drying out.
- Simple Ingredients: No obscure spices or hard‑to‑find items—just pantry staples you probably already have, making it an everyday hero.
- Elegant Presentation: The glossy finish and dusting of cocoa make it look like it belongs in a five‑star café, perfect for a date night.
- Make‑Ahead Friendly: It keeps beautifully in the fridge, and the frosting even improves after a few hours as the flavors meld.
Inside the Ingredient List
The Flavor Base
First up, the foundation of any good coffee cake: strong brewed espresso. I use a dark roast, because it carries a natural chocolatey note that complements the cocoa powder perfectly. If you skip this, you’ll lose the depth that makes the cake sing; a weak coffee will simply taste like a sweet biscuit. For a richer profile, try a double‑shot of espresso or even a shot of cold brew concentrate—just make sure it’s cooled before mixing. Buying beans fresh and grinding them moments before brewing guarantees the brightest aroma, and trust me, the aroma is half the experience.
The Texture Crew
Next, the all‑purpose flour, cocoa powder, and baking powder & soda combo. The flour provides structure, while cocoa adds that deep, earthy hue. Baking powder and soda work together to give the cake a gentle rise, creating a tender crumb that’s neither too dense nor too airy. If you swap the flour for cake flour, you’ll get an even softer texture, but be careful not to over‑mix—over‑mixing develops gluten and can make the cake tough.
The Unexpected Star
The espresso‑toffee frosting is where the magic truly happens. It’s a blend of melted butter, brown sugar, and a splash of coffee, cooked until it reaches a caramel‑like consistency. This frosting sets a glossy, almost glass‑like finish that catches the light and the eye. If you’re allergic to dairy, substitute with coconut oil and a dairy‑free milk; the flavor shifts a bit, but the texture remains luscious.
The Final Flourish
Finally, a dusting of cocoa powder and a sprinkle of sea salt just before serving. The cocoa adds a subtle bitterness that balances the sweet frosting, while the sea salt amplifies the coffee’s natural complexity. Skipping the salt would make the dessert feel one‑dimensional—think a song missing its bridge. When selecting sea salt, opt for flaky varieties; they dissolve quickly and give a gentle crunch that’s audible with each bite.
Everything's prepped? Good. Let's get into the real action...

The Method — Step by Step
Preheat your oven to 350°F (175°C) and grease a 9‑inch round cake pan with a thin layer of butter, then line the bottom with parchment paper. This ensures the cake releases cleanly, preventing that dreaded “stuck to the pan” drama. While the oven heats, I like to set a timer for 10 minutes—this little ritual keeps me from getting distracted and forgetting the batter.
Okay, ready for the game‑changer? In a medium bowl, whisk together the flour, cocoa powder, baking powder, baking soda, and salt. The whisk should create a light, airy cloud—this is the first sign that the batter will be fluffy, not heavy.
In a separate large bowl, combine the melted butter and granulated sugar. Beat them together with an electric mixer on medium speed until the mixture is pale and glossy—think of a sunrise over a coffee cup, bright and inviting. Then, add the eggs one at a time, beating well after each addition; this emulsifies the mixture and prevents curdling.
Now watch this: pour in the cooled espresso and vanilla extract, and give it a quick whirl. The batter should look like a dark, velvety river, shimmering with tiny bubbles indicating air incorporation.
Gradually add the dry ingredients to the wet mixture, alternating with the milk. Start and end with the dry ingredients, and mix each addition just until incorporated. Over‑mixing is the silent assassin of tender cakes; stop the mixer once you no longer see streaks of flour.
Kitchen Hack: Fold the batter with a spatula using a “ribbon” motion to preserve the air you just fought so hard to trap.Picture yourself folding the batter like you’re gently turning a page in a beloved novel—smooth, deliberate, and with a hint of anticipation.
Transfer the batter to the prepared pan, smoothing the top with an offset spatula. The batter should spread evenly, with a slight dome in the center that will settle as it bakes. Slide the pan into the oven and set a timer for 25 minutes.
While the cake bakes, let’s talk frosting. In a saucepan, melt butter over medium heat, then stir in brown sugar, a pinch of sea salt, and the remaining espresso. Bring the mixture to a gentle boil, then reduce to a simmer for 3‑4 minutes until it thickens and coats the back of a spoon. That sizzle when it hits the pan? Absolute perfection.
When the timer dings, perform the classic toothpick test: insert a clean toothpick into the center; if it comes out with a few moist crumbs but no raw batter, the cake is done. I love the moment the oven door opens, releasing a wave of coffee‑caramel perfume that instantly makes me want to hug the pan.
Remove the cake from the oven and let it cool in the pan for 10 minutes. This short rest lets the crumb set, preventing the frosting from sliding off later.
After the 10‑minute rest, carefully invert the cake onto a wire rack. If you notice any cracks, don’t panic—just brush a thin layer of the warm espresso‑toffee glaze over the surface; it will seal any imperfections and add shine.
Watch Out: If the frosting hardens too quickly, gently reheat it over a double boiler; overheating can cause it to become grainy.Once the cake is fully inverted, brush the remaining glaze generously over the top, allowing it to cascade down the sides, creating a glossy waterfall effect.
While the glaze sets, sift a light dusting of cocoa powder over the top. This final touch adds a subtle bitterness that balances the sweet toffee and creates a visual contrast that makes the cake look café‑chic.
Let the cake sit for another 5 minutes so the glaze can firm up just enough to hold its shine, then transfer it to a serving plate. The moment you see that glossy finish reflecting the kitchen light, you’ll know you’ve nailed it.
Serve warm or at room temperature, paired with a fresh cup of espresso or a smooth latte. The cake pairs beautifully with a dollop of lightly sweetened whipped cream if you crave extra decadence.
And now the fun part—watching your guests (or yourself) take that first bite, eyes widening as the coffee‑toffee flavor explodes across the palate. That’s it — you did it. But hold on, I've got a few more tricks that'll take this to another level...
Insider Tricks for Flawless Results
The Temperature Rule Nobody Follows
Never, ever add cold espresso to melted butter. The temperature shock causes the butter to seize, creating a grainy frosting. Warm the espresso gently—just enough to be lukewarm—before combining. I once tried the shortcut of using cold coffee straight from the fridge, and the frosting turned into a clumpy mess that never set.
Why Your Nose Knows Best
The moment the espresso‑toffee mixture starts to shimmer is your cue to reduce the heat. If you keep it boiling, the sugar will caramelize too quickly, resulting in a bitter edge. Trust your nose: a sweet, buttery aroma means you’re on the right track.
The 5‑Minute Rest That Changes Everything
After baking, let the cake rest in the pan for exactly 10 minutes, then invert it onto a rack for another 5. This two‑stage cooling prevents the crumb from becoming gummy and allows the glaze to settle evenly. Skipping this step is the most common reason cakes turn out soggy.
Whisk vs. Mixer – The Silent Debate
When combining dry ingredients, a whisk is superior because it aerates the flour and cocoa, ensuring a lighter texture. I once used a fork and ended up with a dense, heavy cake that never rose properly. The extra effort of whisking pays off in that cloud‑like crumb.
Chocolate Chip Surprise
Fold in chocolate chips at the very end of mixing, just before pouring the batter into the pan. This prevents them from melting into the batter and losing their delightful crunch. A friend tried adding them too early and ended up with a chocolate‑streaked batter that looked messy.
Creative Twists and Variations
This recipe is a playground. Here are some of my favorite ways to switch things up:
Mocha Madness
Swap half of the brewed espresso for hot chocolate, and add a tablespoon of instant coffee granules to the frosting. The result is a richer, chocolate‑forward cake that still sings with coffee notes—perfect for chocolate addicts.
Spiced February
Incorporate a pinch of ground cinnamon and a dash of ground cardamom into the dry mix. The warm spices complement the coffee, creating a cozy flavor profile that feels like a winter hug.
Nutty Delight
Fold in chopped toasted hazelnuts or almonds into the batter. The nuts add a crunchy texture that contrasts beautifully with the silky frosting, and the nutty aroma deepens the overall experience.
Vegan Velvet
Replace butter with coconut oil, use almond milk instead of dairy milk, and swap eggs for a flax‑egg mixture (1 tbsp ground flaxseed + 3 tbsp water per egg). The cake retains its moistness, and the coconut oil adds a subtle tropical note.
Gluten‑Free Glory
Use a blend of gluten‑free flour (rice flour, potato starch, and tapioca starch) in place of all‑purpose flour. Add a teaspoon of xanthan gum to mimic the elasticity of gluten, and you’ll have a cake that’s just as tender.
Alcohol‑Infused Affair
Add a tablespoon of coffee liqueur, like Kahlúa, to the glaze for an adult‑only version. The alcohol evaporates slightly during cooking, leaving behind a sophisticated depth that pairs wonderfully with a nightcap.
Storing and Bringing It Back to Life
Fridge Storage
Place the cooled cake in an airtight container or wrap it tightly with plastic wrap. It will stay fresh for up to five days. The glaze may harden a bit; simply let the cake sit at room temperature for 20 minutes before serving.
Freezer Friendly
Wrap the cake tightly in a double layer of foil and then place it in a freezer‑safe bag. It freezes beautifully for up to two months. When you’re ready to enjoy, thaw it overnight in the fridge, then bring it to room temperature.
Best Reheating Method
To revive that fresh‑out‑of‑the‑oven feeling, preheat your oven to 300°F (150°C), lightly mist the cake with a splash of water, and warm it for 8‑10 minutes. The steam reinvigorates the crumb while the glaze softens just enough to become glossy again.