I was staring at a pot of plain chicken broth, a handful of canned beans, and a can of green chilies, wondering how on earth I could turn this into something that would actually taste like a dinner. The kitchen was a mess—spilled onions, a burnt pot, and a lingering smell of overcooked rice. My friend, ever the culinary daredevil, challenged me to turn this bland assembly into a showstopper. I laughed, rolled my eyes, and said, “I dare you to taste this and not go back for seconds.”
Picture the scene: a sizzling skillet, the sharp scent of garlic blooming, the gentle pop of onions caramelizing into golden caramel, and the faint, comforting hum of the stove. The first spoonful hits your tongue with a creamy richness that feels like velvet draped over a hearty bean, while the green chilies whisper a mild, bright heat that lingers just long enough to keep you coming back for more. The texture is a playful dance—smooth, slightly chunky, and utterly satisfying. The aroma rises like a promise of comfort and adventure, a reminder that great meals can start from the simplest pantry staples.
What makes this version stand out? It’s the perfect marriage of protein and creaminess, the strategic use of fresh herbs, and the subtle, almost invisible heat that keeps the dish from becoming cloyingly spicy. I’ve stripped away the usual suspects—tomatoes, bell peppers, and excess salt—and replaced them with a pure, unadulterated flavor profile that lets each ingredient shine. The result is a chili that’s both comforting and sophisticated, a dish that feels like a gourmet experience but takes only a fraction of the time you’d expect.
And there’s a twist you won’t see in any other recipe: I replace the typical tomato base with a creamy, yogurt-infused broth that gives the dish a silky coat, and I finish with a splash of lime and a handful of avocado that add a fresh, buttery contrast. By the end of this post, you’ll know why this is hands down the best version you’ll ever make at home. Let me walk you through every single step—by the end, you’ll wonder how you ever made it any other way.
What Makes This Version Stand Out
- Flavor: The creamy broth is the backbone of this dish, delivering a rich mouthfeel that carries the subtle heat of green chilies without overpowering the gentle sweetness of the beans.
- Protein: With shredded chicken and white beans, each serving packs a hefty protein punch that satisfies even the most ravenous of appetites.
- Texture: The mixture of smooth cream, tender chicken, and chunky beans creates a layered mouthfeel that feels both comforting and luxurious.
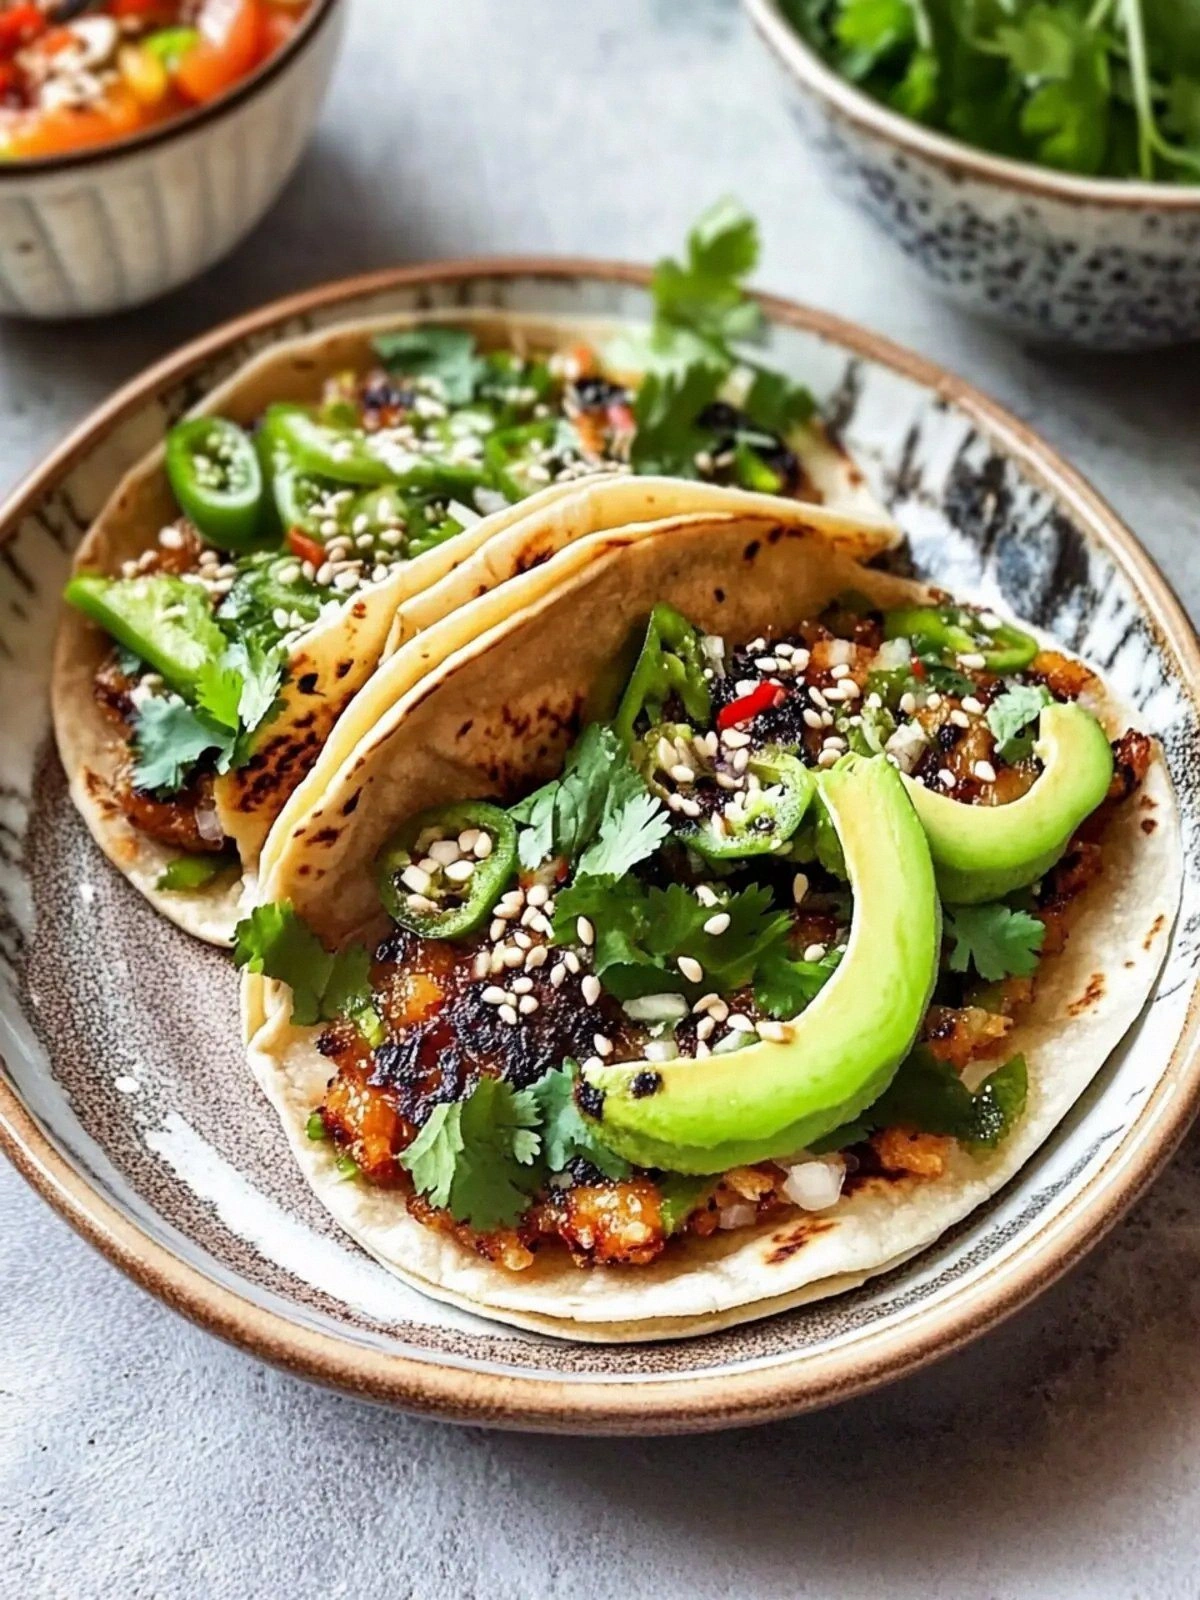
- Freshness: A final flourish of avocado, cilantro, and lime adds bright, vibrant notes that cut through the richness and leave the palate refreshed.
- Simplicity: The recipe requires only a handful of pantry staples, making it a go-to option for busy weeknights.
- Crowd Appeal: Even the pickiest eaters will fall in love with the mild heat and creamy texture—ideal for family dinners or dinner parties.
- Make‑Ahead: The chili keeps well in the fridge for up to five days, and its flavors actually deepen over time.
- Low Fuss: No complicated steps or obscure ingredients—just straightforward cooking that yields professional results.
Inside the Ingredient List
The Flavor Base
Onions and Garlic: The aromatics form the scent and depth of the dish; sauté them until translucent and slightly caramelized to unlock their natural sweetness. Skipping them would leave the chili flat and unremarkable.
Cumin and Chili Powder: These spices bring a warm earthiness that complements the mild heat from the green chilies. If you’re sensitive to heat, reduce the chili powder to half a teaspoon; the cumin will still provide that comforting warmth.
White Beans: They add body and a subtle nuttiness that balances the richness of the cream. If you’re looking for a lower-carb version, swap them for a handful of cooked lentils, though the texture will change slightly.
The Texture Crew
Shredded Chicken: The protein source that gives the chili its hearty feel. Use rotisserie chicken for extra flavor, or grill fresh chicken breasts for a leaner option.
Green Chilies: These provide a gentle kick that keeps the dish lively without becoming overwhelming. If you prefer a sweeter profile, replace them with diced bell peppers.
Heavy Cream or Greek Yogurt: The creamy element that turns a simple stew into a velvety delight. Opt for Greek yogurt if you want a tangier, lower-fat version; just stir in a bit of milk to reach the desired consistency.
The Unexpected Star
Avocado: Adds a buttery texture and a subtle, cooling effect that balances the heat. Dice it just before serving to keep it from turning brown.
Fresh Lime: A squeeze of lime brightens the dish, cutting through the richness and adding a citrusy zing. A small wedge on top of each bowl also provides a visual pop of color.
Cilantro: The herb’s bright, slightly citrusy flavor complements the creamy base and adds a fresh note that lingers on the palate.
The Final Flourish
Sour Cream: A dollop of sour cream adds a tangy contrast that heightens the overall flavor profile. If you prefer a lighter version, use a low-fat yogurt instead.
Shredded Cheese: Sprinkle it on top for a melty, indulgent finish. Cheddar or Monterey Jack work well; for a dairy-free option, try a vegan cheese.
Salt and Pepper: Season to taste, but remember that the beans and broth already contain some sodium. A pinch of pepper adds a subtle heat that rounds out the dish.
Everything’s prepped? Good. Let’s get into the real action.

The Method — Step by Step
- Heat a large Dutch oven over medium heat. Add a splash of olive oil and let it shimmer. Toss in the diced onion, letting it sizzle until translucent—about 5 minutes. The aroma should start to resemble a comforting hug, and the onions should be golden but not browned.
- Add the minced garlic and sauté for 30 seconds until fragrant. The garlic should release a sweet, almost floral scent without burning. If you’re sensitive to raw garlic, add it a minute after the onions to prevent bitterness.
- Stir in the cumin and chili powder, letting the spices toast for 1 minute. The spices should release their oils, turning the mixture aromatic. This is the moment of truth—if the spices are not toasted, the chili will taste raw.
- Add the shredded chicken, canned green chilies, and white beans to the pot. Stir until everything is coated in the spice mixture, creating a uniform base that looks like a vibrant, earthy tapestry.
- Pour in the chicken broth and bring the mixture to a gentle simmer. The broth should bubble softly, not boil aggressively. This simmering stage allows the flavors to meld—watch the liquid reduce slightly, concentrating the taste.
- Reduce the heat to low and stir in the heavy cream or Greek yogurt. The mixture should become silky and thick. If the sauce thickens too much, add a splash of water or broth to reach the desired consistency. The sauce should coat the beans like velvet.
- Season with salt and pepper to taste. A pinch of pepper adds a subtle heat that rounds out the dish. Let the chili simmer for an additional 10 minutes, allowing the flavors to deepen.
- Taste and adjust the seasoning—if the chili feels a bit flat, add a pinch more cumin or a dash of chili powder. The goal is a harmonious balance of savory, creamy, and mildly spicy.
- Remove from heat and let the chili rest for 5 minutes. This resting period lets the flavors settle and the sauce thicken slightly.
- Serve hot, topped with diced avocado, a sprinkle of shredded cheese, a dollop of sour cream, a handful of fresh cilantro, and a squeeze of lime. The fresh toppings add a bright contrast that lifts the dish to another level.
Insider Tricks for Flawless Results
The Temperature Rule Nobody Follows
Many cooks let the chili boil at a high temperature, which can cause the beans to break apart and the sauce to separate. Keep the heat low—just enough to maintain a gentle simmer. The slow, steady heat allows the flavors to meld without compromising texture.
Why Your Nose Knows Best
Before adding the cream, pause and inhale the aroma. If it smells slightly burnt, reduce the heat immediately. A fresh, aromatic scent is a sign that the base is perfectly cooked.
The 5‑Minute Rest That Changes Everything
Letting the chili rest after cooking allows the cream to thicken and the flavors to settle. The result is a richer, more cohesive dish that tastes better than when served hot.
The Secret Ingredient Swap
If you’re watching your calories, replace heavy cream with a low-fat Greek yogurt. The yogurt retains the creamy texture while cutting down on fat and adding a subtle tang.
The Topping Tactile Trick
Serve the chili with a side of crusty bread and a small bowl of fresh lime wedges. The act of squeezing lime over the chili just before eating adds a burst of brightness that elevates the entire experience.
The Final Touch of Heat
If you like a bit more kick, drizzle a few drops of hot sauce on top just before serving. The heat will pop against the creamy base, creating a delightful contrast.
Creative Twists and Variations
This recipe is a playground. Here are some of my favorite ways to switch things up:
Spicy Southwestern
Swap the green chilies for diced poblano peppers and add a pinch of smoked paprika. The smoky heat transforms the chili into a southwestern masterpiece that pairs wonderfully with corn tortillas.
Mediterranean Flair
Replace the white beans with chickpeas and finish with a drizzle of extra‑virgin olive oil and a sprinkle of oregano. The Mediterranean herbs lend a fragrant, earthy undertone.
Low‑Carb Edition
Omit the beans entirely and add a handful of sautéed spinach or kale. The greens add bulk without the carbs, making it a great option for keto or paleo diets.
Vegan Version
Use tofu or tempeh instead of chicken, and swap heavy cream for coconut milk. The result is a creamy, plant‑based chili that still delivers on protein.
Breakfast Kick‑Start
Serve the chili over scrambled eggs or a hearty breakfast burrito. The savory, creamy flavors make it a surprisingly satisfying morning meal.
Gourmet Upgrade
Add a splash of cognac or brandy before simmering and garnish with toasted almonds. The subtle alcohol depth and nutty crunch elevate the dish to a restaurant‑quality experience.
Storing and Bringing It Back to Life
Fridge Storage
Cool the chili to room temperature, then transfer it to an airtight container. Store in the refrigerator for up to five days. The creamy base will thicken slightly, but this actually enhances the texture.
Freezer Friendly
For longer storage, freeze the chili in individual portions. Wrap tightly with foil or use freezer‑safe bags. When ready to eat, thaw overnight in the fridge and reheat gently.
Best Reheating Method
Reheat on the stovetop over low heat, adding a splash of water or broth to restore moisture. Stir frequently to prevent scorching. The sauce will regain its silky consistency, ready for a fresh serving.