Picture this: a Friday night, the kitchen lights flicker, the fridge is a rainbow of leftovers, and you’re staring at a half‑cooked chicken that’s already started to look like a sad, soggy cloud. I was halfway through a recipe I’d found on a forum, and the moment the skillet hissed, I realized I had a culinary crisis on my hands. The air was thick with the scent of burnt garlic and the faint hint of citrus from the lemon I’d forgotten to zest. I could hear the clock ticking, the faint hum of the fridge, and the faint clatter of my own nervous fingers. That night, I decided I was going to turn that disaster into a masterpiece.
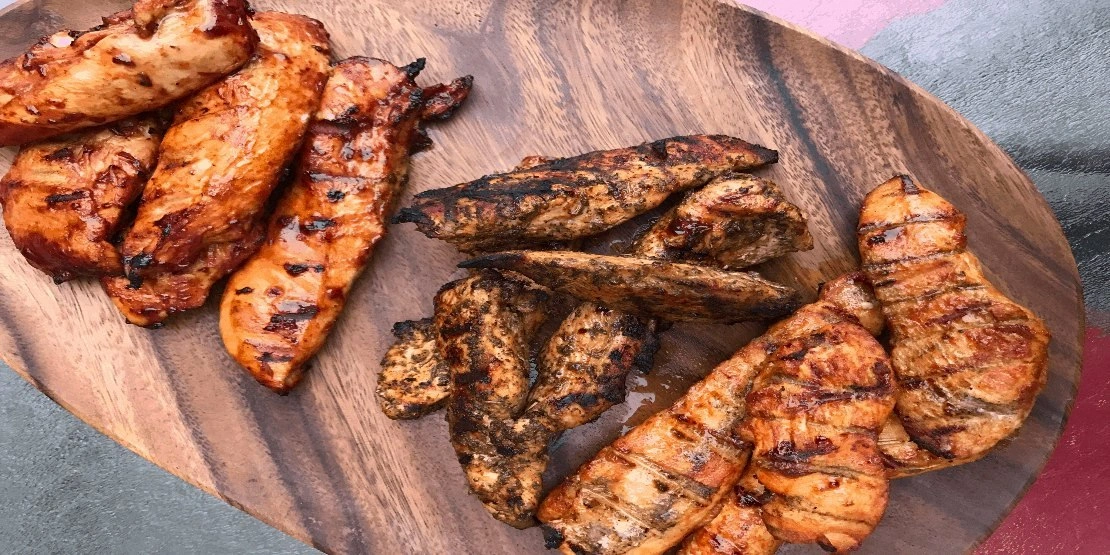
I pulled out my trusty Chef Brik rubs – the Honey Worcestershire and the Smoky Citrus Habanero – and tossed the chicken in a bag with olive oil, lemon zest, and a dash of salt. The aroma that filled the kitchen was electric, a sweet, smoky, slightly spicy perfume that made my eyes water. I could almost taste the future: juicy, tender meat, coated in a glossy glaze that would caramelize into a crisp, caramel‑red crust. My friends who had been skeptical about my culinary prowess were already leaning in, whispering, “I dare you to taste this and not go back for seconds.” And I was right there, a grin spreading across my face, because I knew this was going to be hands down the best version you’ll ever make at home.
Fast forward to the present, and I’m standing here, ready to walk you through every single step. By the end, you’ll wonder how you ever made it any other way. Picture yourself pulling this out of the oven, the whole kitchen smelling incredible, the chicken sizzling, and the guests’ eyes lighting up in anticipation. That’s the magic I’m about to share, and it’s not just about the flavor, but the technique, the timing, and the little secrets that make this dish unforgettable.
Let me walk you through every single step — by the end, you’ll wonder how you ever made it any other way. I’ll show you how to marinate, how to grill, how to finish, and how to plate it like a pro. The journey starts with a simple bag and ends with a dish that’s both comforting and daring. Stay with me, because this next part? Pure magic.
What Makes This Version Stand Out
- Flavor Fusion: The honey and Worcestershire rubs combine sweet, umami, and a subtle tang that sets the foundation for a complex taste profile.
- Texture Contrast: The smoky citrus habanero rub adds a peppery bite that balances the sweet glaze, creating layers of mouthfeel.
- Simple Prep: No pre‑cooking, no marinades that sit overnight; the whole process takes less than an hour.
- Make‑Ahead Friendly: The chicken can be marinated and stored in the fridge up to 24 hours, giving you flexibility.
- Crowd‑Pleaser: Even the most skeptical foodies will be begging for the recipe after tasting the first bite.
- Ingredient Quality: Using high‑quality rubs from Chef Brik ensures consistent flavor and eliminates the need for multiple seasonings.
- Visual Appeal: The caramelized crust turns a simple chicken into a showstopper that looks as good as it tastes.
- Versatility: Pair it with roasted veggies, a fresh salad, or even a quinoa pilaf for a complete meal.
Inside the Ingredient List
The Flavor Base
At the heart of this dish lies the Chef Brik’s Honey Worcestershire Rub. It’s a blend of honey’s natural sweetness and Worcestershire sauce’s savory depth. This rub not only seasons the chicken but also creates a glossy glaze that caramelizes beautifully. If you’re out of this rub, a mix of brown sugar, soy sauce, and a splash of vinegar will do wonders.
Next, the Chef Brik’s Smoky Citrus Habanero Rub brings smoky heat and a bright citrus note. The habanero peppers add a controlled kick that doesn’t overpower the sweet base. If you’re sensitive to heat, substitute with a milder pepper or reduce the amount by half.
The Texture Crew
The Olive oil is essential for achieving that desirable sear. It raises the smoke point of the rubs, ensuring they don’t burn before the chicken is cooked through. A good rule of thumb is to lightly coat the chicken with oil before adding the rubs; this prevents sticking and enhances caramelization.
The lemon is more than a garnish. Its zest releases bright, citrusy oils that cut through the richness, while the juice adds acidity that tenderizes the meat. If you can’t find fresh lemons, a splash of fresh lime juice works beautifully.
The Unexpected Star
The 2.5 lbs chicken is the canvas. Whether you choose thighs, breasts, or a whole piece, the rubs work across all cuts. I recommend bone‑in, skin‑on thighs for maximum flavor and moisture. If you’re cooking for a crowd, consider cutting the chicken into smaller, bite‑size pieces to speed up cooking.
The Final Flourish
Lastly, the 2 large Ziploc freezer bags are more than just containers. They allow the rubs to mingle with the chicken, ensuring even coverage. If you’re short on space, a large resealable bag or a shallow dish works just as well. Remember to press out as much air as possible to maximize contact between the rub and the meat.
Everything's prepped? Good. Let's get into the real action...
The Method — Step by Step
- Marinate the Chicken: Place the 2.5 lbs of chicken in the two Ziploc bags. Add the lemon zest, a drizzle of olive oil, and both rubs. Seal the bags and massage the mixture into the chicken until fully coated. Let it rest in the fridge for at least 30 minutes; if you have time, up to 24 hours will deepen the flavor. The longer the marination, the more the chicken absorbs the sweet‑savory‑spicy profile. I dare you to taste this and not go back for seconds.
- Preheat Your Grill: Heat a gas or charcoal grill to medium‑high (about 375°F). If using a charcoal grill, let the coals burn down to a steady heat without flare‑ups. The goal is a consistent, direct heat that caramelizes the rubs without burning. Watch out: too high a heat will char the sugars before the chicken is done.
- Prepare the Skewers or Direct Grill: If you prefer a more rustic feel, thread the chicken pieces onto skewers. If you’re using a flat grill, lay the pieces directly on the grates. Lightly oil the grates to prevent sticking. The sizzle that hits the metal is a sign of a good sear; that sizzle when it hits the pan? Absolute perfection.
- First Side Sear: Place the chicken on the grill, close the lid, and cook for 4–5 minutes. The rubs will start to caramelize, forming a dark, glossy crust. The edges will start pulling away from the meat, indicating a good sear. This step locks in juices and begins the flavor development.
- Flip and Finish: Turn the chicken over and grill the other side for another 4–5 minutes. The internal temperature should reach 165°F. If you’re using a meat thermometer, insert it into the thickest part of the thigh or breast. The moment the thermometer reads 165°F, the chicken is perfectly cooked.
- Rest the Chicken: Remove the chicken from the grill and let it rest for 5 minutes. This allows the juices to redistribute, keeping the meat moist. During this time, the rubs will continue to set into a glaze that coats each piece like velvet.
- Plate and Garnish: Arrange the chicken on a platter, drizzle any remaining juices from the grill, and scatter fresh lemon wedges around. The bright citrus accents the smoky, sweet flavors. If you’re feeling extra, sprinkle chopped fresh herbs like cilantro or parsley for a pop of color.
- Serve Immediately: Serve the chicken hot, with your favorite side dishes. The best part? The flavors are at their peak right after grilling. If you’re feeding a crowd, keep the chicken warm in a low oven (200°F) until ready to serve.
That's it — you did it. But hold on, I've got a few more tricks that'll take this to another level...
Insider Tricks for Flawless Results
The Temperature Rule Nobody Follows
Many cooks assume any medium‑high heat works, but the sweet‑savory rubs require a precise temperature to caramelize without burning. Aim for 375°F and keep the lid closed; this traps heat and ensures even cooking. If you notice the rubs darkening too fast, slide the chicken to a cooler part of the grill or reduce the heat slightly.
Why Your Nose Knows Best
When the rubs start to caramelize, a sweet, caramelized aroma will fill the kitchen. That scent is your cue that the crust is forming. If the smell is too bitter or burnt, you’re overcooking. Trust your nose, not just the timer.
The 5‑Minute Rest That Changes Everything
Resting the chicken after grilling might seem like a waste of time, but it’s crucial. During this period, the juices redistribute, preventing them from spilling out when you cut. The result? Juicier, more tender meat that melts in your mouth.
Keep the Rub Moist
If the rub feels dry before cooking, spritz a little olive oil or a splash of chicken broth onto the chicken. This keeps the rub from cracking and ensures a smooth glaze.
Use a Meat Thermometer
The safest way to guarantee doneness is a thermometer. Insert it into the thickest part of the meat; when it reads 165°F, you’re golden. This eliminates guesswork and ensures every bite is safe and succulent.
Creative Twists and Variations
This recipe is a playground. Here are some of my favorite ways to switch things up:
Sweet & Smoky Glaze
Add a tablespoon of maple syrup to the rub mixture for an extra layer of sweetness that caramelizes into a glossy glaze. The maple will complement the honey and deepen the smoky flavor.
Herb‑Infused Finish
Stir in a handful of fresh thyme or rosemary into the rub before grilling. The herbs will infuse the meat with earthy tones, balancing the heat of the habanero.
Citrus Twist
Replace the lemon with orange zest and juice for a sweeter citrus note. The orange pairs beautifully with the smoky rub, creating a tropical vibe.
Spicy BBQ Sauce
Brush a thin layer of your favorite BBQ sauce over the chicken during the last 2 minutes of grilling. The sauce will blister into a sticky coating that enhances the smoky flavor.
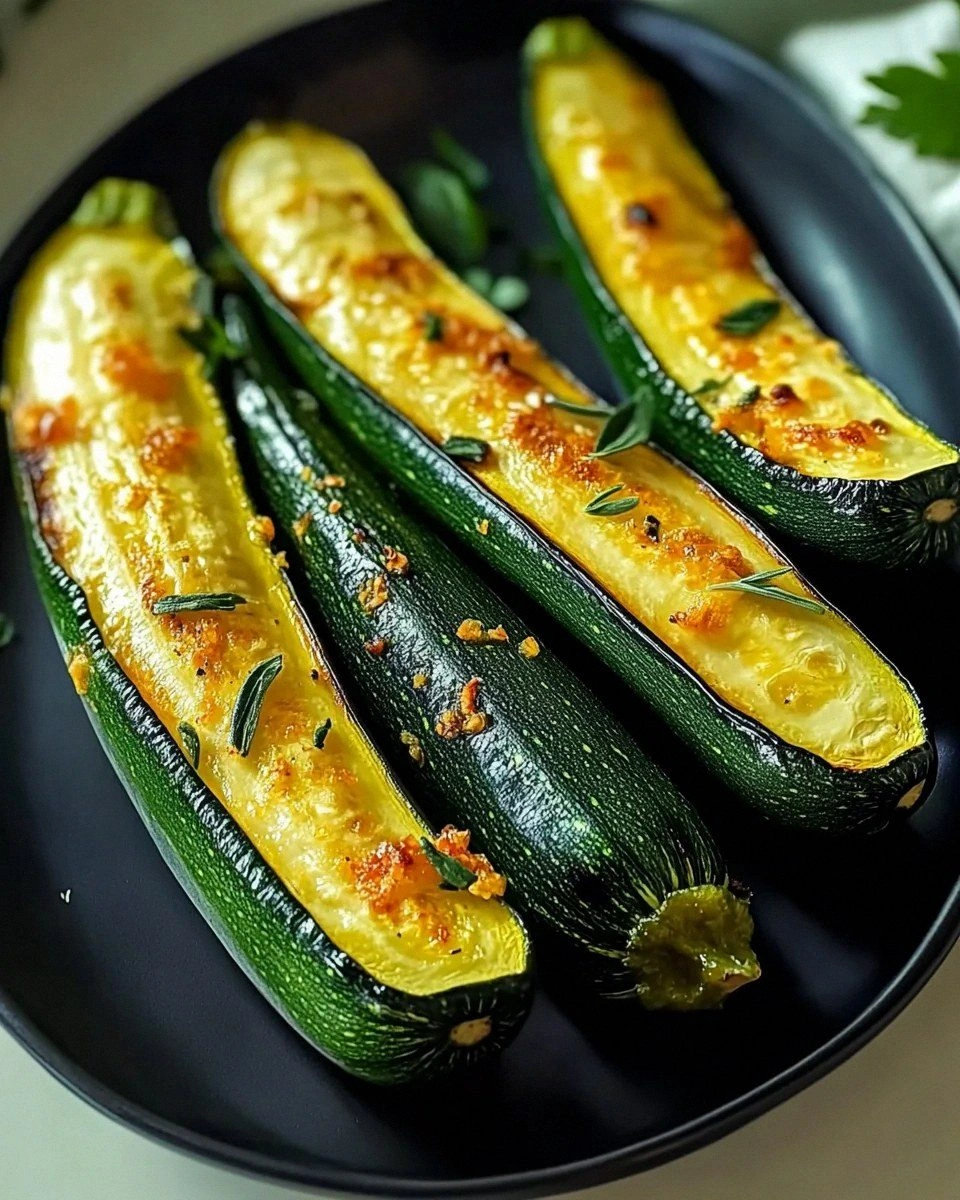
Grilled Veggie Pairing
Serve the chicken alongside grilled zucchini, bell peppers, and red onions. The charred veggies echo the smoky notes and add a fresh crunch.
Low‑Heat Slow Cook
If you’re short on time, cook the marinated chicken in a low oven (300°F) for 45 minutes. The slow heat will tenderize the meat while still allowing the rubs to develop flavor.
Storing and Bringing It Back to Life
Fridge Storage
Store leftover chicken in an airtight container in the refrigerator for up to 3 days. The rubs will keep the meat moist, but avoid stacking to prevent the glaze from becoming soggy.
Freezer Friendly
Wrap the chicken tightly in foil or freezer bags and freeze for up to 2 months. Thaw overnight in the fridge before reheating to preserve texture.
Best Reheating Method
Reheat in a preheated oven at 350°F for 10 minutes or until warmed through. Add a splash of water or broth before reheating; it steams back to perfection and keeps the glaze from drying out.