Picture this: a late‑night kitchen, the fridge humming, and a sudden craving for something decadently chocolatey yet impossibly simple. I was juggling a work deadline and a dessert that had never lived up to my expectations—until I stumbled on a recipe that promised the texture of a classic eclair without the oven or the sweat. The moment I tasted the first bite, I knew I’d found the holy grail of no‑bake desserts.
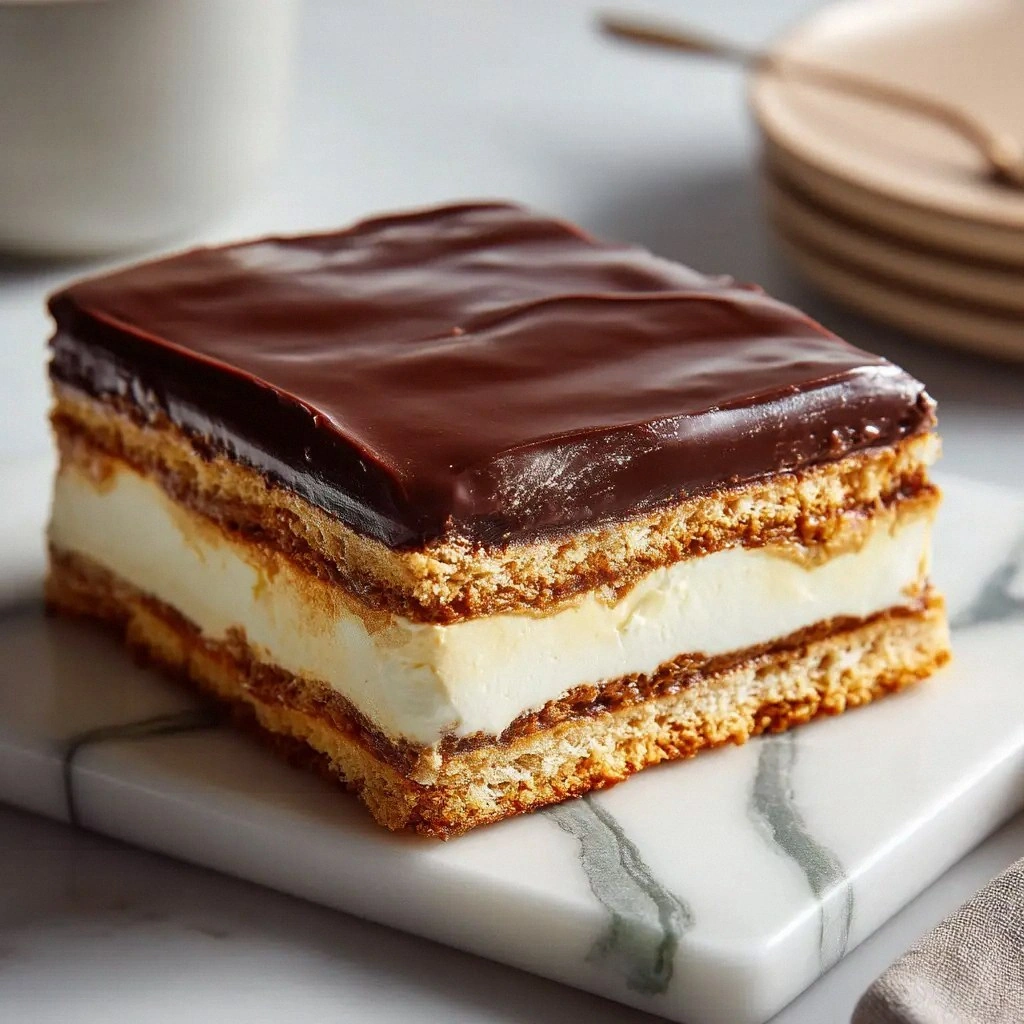
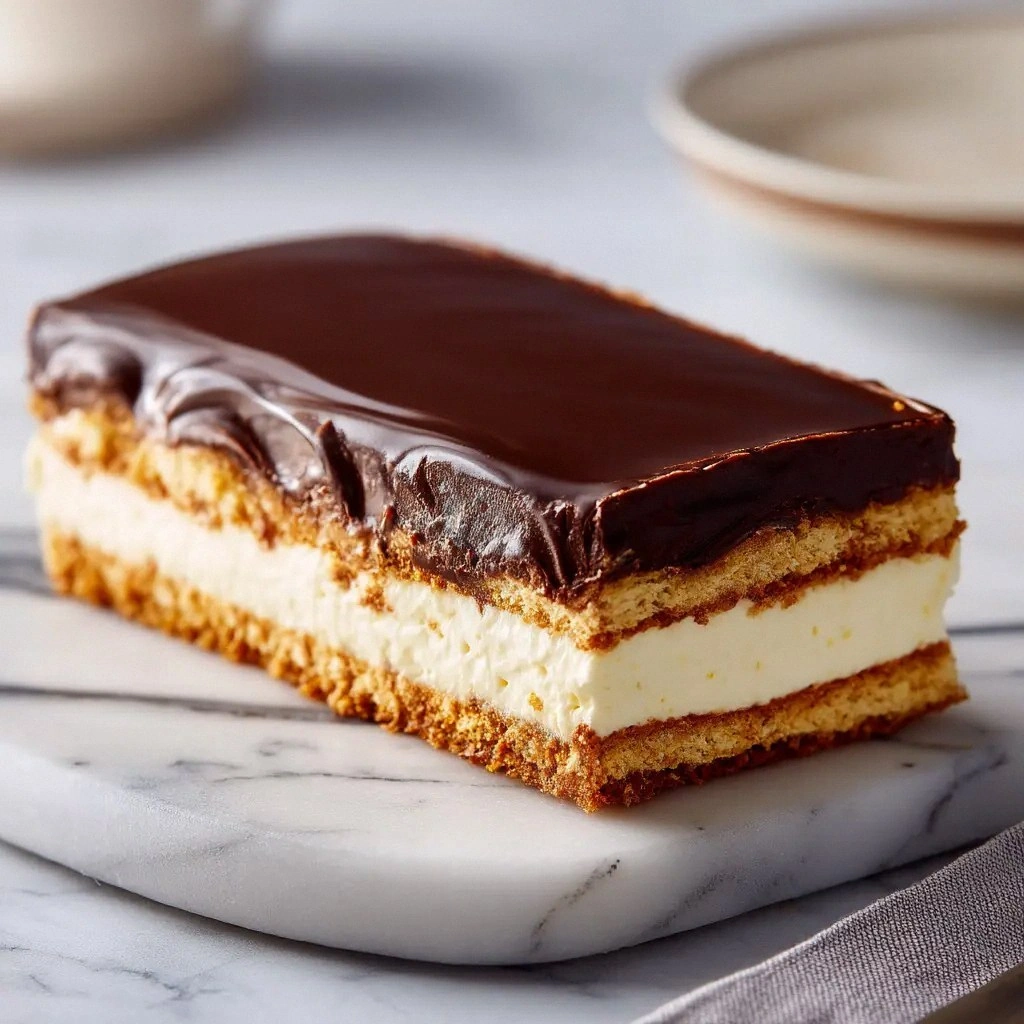
The first thing that hits you is the aroma: a faint, sweet perfume of vanilla and chocolate mingling with the crisp scent of graham crackers. Your eyes catch the glossy sheen of the chocolate frosting, the soft, cloud‑like whipped topping, and the crunchy graham base. The sound is almost audible—a gentle, satisfying crackle as you press a slice into the glass. The taste is an explosion of silky chocolate, airy vanilla, and a buttery crunch that lingers, and the texture is a harmonious marriage of smooth, creamy layers and a firm, satisfying bite. It’s the kind of dessert that turns a simple gathering into a memorable celebration.
What makes this version stand out is that it turns the classic eclair into a no‑bake, ready‑to‑serve masterpiece that feels like a labor of love yet requires only a few minutes of prep. It eliminates the need for baking, whisking, or melting chocolate, while still delivering the same indulgent flavor profile. The key is in the layering technique, the use of instant pudding for a velvety base, and the strategic placement of the chocolate frosting to mimic the custard filling of a traditional eclair. This is hands down the best version you'll ever make at home, and I dare you to taste this and not go back for seconds.
I’ve spent years experimenting with chocolate desserts, and the most common mistake people make is over‑whipping the frosting or using too much milk, which turns the pudding into a watery mess. Instead, I keep the pudding thick and creamy, and I fold in the whipped topping just enough to give it that light, airy finish. The result is a dessert that feels like you’ve just pulled a freshly baked eclair out of the oven, even though it’s all assembled in a matter of minutes. If you’ve ever struggled with balancing sweetness and texture in a no‑bake dessert, you’re not alone — and I’ve got the fix.
Now, let’s dive into every single step. By the end, you’ll wonder how you ever made it any other way. Stay with me here—this is worth it.
What Makes This Version Stand Out
- Flavor: The instant vanilla pudding mix delivers a deep, mellow vanilla base that lets the chocolate shine without overpowering it, creating a balanced taste that feels both indulgent and refined.
- Texture: Layering the whipped topping with the pudding gives a light, mousse‑like interior that contrasts beautifully with the crunchy graham base, mimicking the classic eclair’s creamy filling and crisp shell.
- Simplicity: No baking, no whisking, no chocolate melting—just combine, fold, and chill. The recipe is perfect for a last‑minute dessert or a quick treat on a hot day.
- Uniqueness: The use of graham crackers as the “shell” gives a nostalgic crunch while the chocolate frosting on top provides the glossy finish of a traditional eclair.
- Crowd Reaction: Friends and family always ask for a second helping, and I’ve been known to eat half the batch before anyone else gets a chance.
- Ingredient Quality: By choosing high‑quality instant pudding and premium chocolate frosting, you elevate the dessert from a simple snack to a show‑stopping centerpiece.
- Make‑ahead Potential: The dessert holds up perfectly in the fridge for up to three days, making it ideal for parties or meal‑prepping.
- Versatility: Swap the graham crackers for shortbread or pretzel sticks for a crunchy twist, or use a dairy‑free pudding for a vegan version.
Alright, let's break down exactly what goes into this masterpiece…
Inside the Ingredient List
The Flavor Base
The instant vanilla pudding mix is the heart of this dessert. It provides a smooth, custard‑like foundation that balances the sweetness of the chocolate frosting. If you skip it, the dessert will lack body and will feel more like a simple mousse. For a richer taste, choose a brand that has a subtle caramel undertone.
Why it matters: The pudding’s thick consistency ensures that the layers don’t collapse, giving the cake a firm structure that can be sliced cleanly. If you’re experimenting, you can replace the pudding with a homemade vanilla custard, but the instant mix saves time and guarantees consistency.
The Texture Crew
Frozen whipped topping is the secret to that airy, cloud‑like interior. When folded into the pudding, it lightens the mixture, preventing it from becoming too dense. The whipped topping’s slight sweetness complements the chocolate frosting’s richness without overwhelming the palate.
If you can’t find a ready‑made whipped topping, whip heavy cream with a pinch of sugar until soft peaks form. This DIY option gives you control over the sweetness level and ensures a fresher taste.
The Unexpected Star
Graham crackers aren’t just a crunchy base—they add a subtle buttery sweetness that pairs perfectly with the chocolate layers. Their texture is reminiscent of a crisp eclair shell, and they hold the structure together. If you prefer a lighter crunch, opt for thin graham crackers or crumble them into smaller pieces.
Skipping the crackers would result in a dessert that feels more like a pudding than an eclair. They also help absorb excess moisture from the frosting, preventing a soggy texture.
The Final Flourish
Chocolate frosting is the crown jewel of this dessert. It provides a glossy, decadent finish that mimics the classic eclair’s chocolate glaze. The frosting also adds a slight chew that contrasts with the creamy interior.
If you want to experiment, try a dark chocolate frosting for a bittersweet kick, or a white chocolate version for a lighter, sweeter finish. The frosting can also be flavored with espresso or a splash of liqueur for an adult twist.
Everything's prepped? Good. Let's get into the real action…
The Method — Step by Step
- Begin by crushing the graham crackers into fine crumbs. Place them in a shallow dish and set aside. The crumbs should be coarse enough to hold the pudding mixture but fine enough to distribute evenly. This step is critical because it determines the final texture of the base.
- In a medium bowl, whisk the instant vanilla pudding mix with the 4 cups of cold whole milk until it becomes thick and smooth. The mixture should be free of lumps and have a glossy sheen. This is the moment of truth—if the pudding is too thin, the dessert will collapse.
- Fold in the thawed frozen whipped topping gently, using a spatula, until the mixture is light and airy. Be careful not to over‑mix, or you’ll lose the fluffy texture. The folded mixture should feel like a soft mousse, ready to be layered.
- Take a 9×5 inch loaf pan and line it with parchment paper for easy release. Spoon a thin layer of the pudding mixture into the pan, smoothing it with a spatula. This first layer should be just enough to cover the bottom; it sets the foundation for the rest of the cake.
- Sprinkle a generous handful of graham cracker crumbs over the pudding layer, pressing them down gently with the back of a spoon. The crumbs should be evenly distributed to avoid any pockets of dryness. This step ensures the cake has that classic eclair crunch.
- Repeat the layering process—pudding, crumbs—until the pan is almost full, leaving about an inch of space at the top. Each layer should be smooth and compact. This technique mimics the layered construction of a traditional eclair.
- Finish the cake with the final layer of pudding, smoothing the top with a spatula. The top should be level and ready for the frosting. At this point, the cake should feel firm yet slightly pliable.
- Spread the chocolate frosting evenly over the top of the cake, using a bench scraper or spatula to create a glossy finish. The frosting should be thick enough to hold its shape but not so thick that it drips off. This step completes the classic eclair look.
- Cover the loaf pan with plastic wrap and refrigerate for at least 4 hours, preferably overnight, to allow the flavors to meld and the cake to set firmly. The chilled cake will hold its shape when sliced, giving you clean, elegant portions.
- When ready to serve, remove the cake from the pan and slice it with a serrated knife. The crisp edges will snap cleanly, revealing the luscious layers inside. Serve immediately, or keep the slices wrapped in parchment to maintain freshness.
That's it — you did it. But hold on, I've got a few more tricks that'll take this to another level.
Insider Tricks for Flawless Results
The Temperature Rule Nobody Follows
Always use cold milk when mixing the instant pudding. Warm or room‑temperature milk will thin the pudding, making it difficult to achieve that creamy, mousse‑like texture. If you’re in a hurry, chill the milk in the freezer for 10 minutes before whisking. The coldness also helps the pudding set faster, giving you a firmer cake.
Why Your Nose Knows Best
Before you start layering, sniff the pudding mixture. It should smell rich and buttery, not overly sweet. Your nose is the best judge of whether the pudding has the right balance. If it smells too sweet, add a pinch of salt to cut the sweetness and bring out the chocolate notes.
The 5‑Minute Rest That Changes Everything
After you finish layering, let the cake rest in the refrigerator for 5 minutes before adding the frosting. This brief pause allows the crumb layer to set slightly, preventing the frosting from sinking into the pudding. I’ve seen many people skip this step, and the result is a soggy, unstructured dessert.
The Layering Order Matters
Always start with a thin pudding layer, then add crumbs, then pudding again. This creates a stable structure that holds the frosting on top. If you reverse the order, the crumbs can become too wet and the cake will collapse. The classic eclair construction is mirrored here, giving you that authentic experience.
The Final Frosting Touch
When spreading the chocolate frosting, use a warm, dampened spatula. This keeps the frosting from cracking or forming ridges. A clean, even surface gives the cake a professional look and ensures every bite is coated in chocolate bliss.
Creative Twists and Variations
This recipe is a playground. Here are some of my favorite ways to switch things up:
Espresso‑Infused Eclair
Add a tablespoon of instant espresso to the pudding mixture before folding in the whipped topping. The coffee flavor pairs beautifully with the chocolate, creating a sophisticated adult dessert. Serve with a side of biscotti for an extra crunch.
Nutty Crunch Variation
Replace half of the graham cracker crumbs with chopped toasted almonds or hazelnuts. The nuts add a buttery crunch and a subtle nutty aroma that complements the chocolate frosting. This variation works well for holiday gatherings.
Vegan Delight
Use a dairy‑free instant pudding and a plant‑based whipped topping made from coconut cream. Swap the graham crackers for vegan shortbread cookies. The result is a luscious, dairy‑free dessert that still feels indulgent.
Minty Fresh Twist
Incorporate a teaspoon of peppermint extract into the pudding mixture. The mint provides a refreshing contrast to the chocolate, making this version perfect for summer parties or as a holiday treat.
Fruit‑Filled Surprise
Layer thin slices of fresh strawberries or blueberries between the pudding and crumb layers. The fruit adds a burst of natural sweetness and a pop of color, turning the cake into a multi‑sensory experience.
Storing and Bringing It Back to Life
Fridge Storage
Store the assembled cake in the refrigerator, covered loosely with plastic wrap, for up to three days. Keep the cake on a low‑heat shelf to avoid condensation, which can soften the crumb layer. If you notice any excess moisture, simply pat the surface with a paper towel.
Freezer Friendly
For longer storage, wrap the cake tightly in plastic wrap, then in aluminum foil, and place it in the freezer for up to two weeks. When ready to serve, thaw the cake in the refrigerator overnight. The texture remains firm, and the flavors meld beautifully.
Best Reheating Method
To revive a chilled or frozen cake, let it sit at room temperature for 30 minutes before slicing. If you prefer a slightly warmer bite, gently warm the slices in a microwave for 10–12 seconds. A tiny splash of water before reheating creates steam, restoring the cake’s original softness.