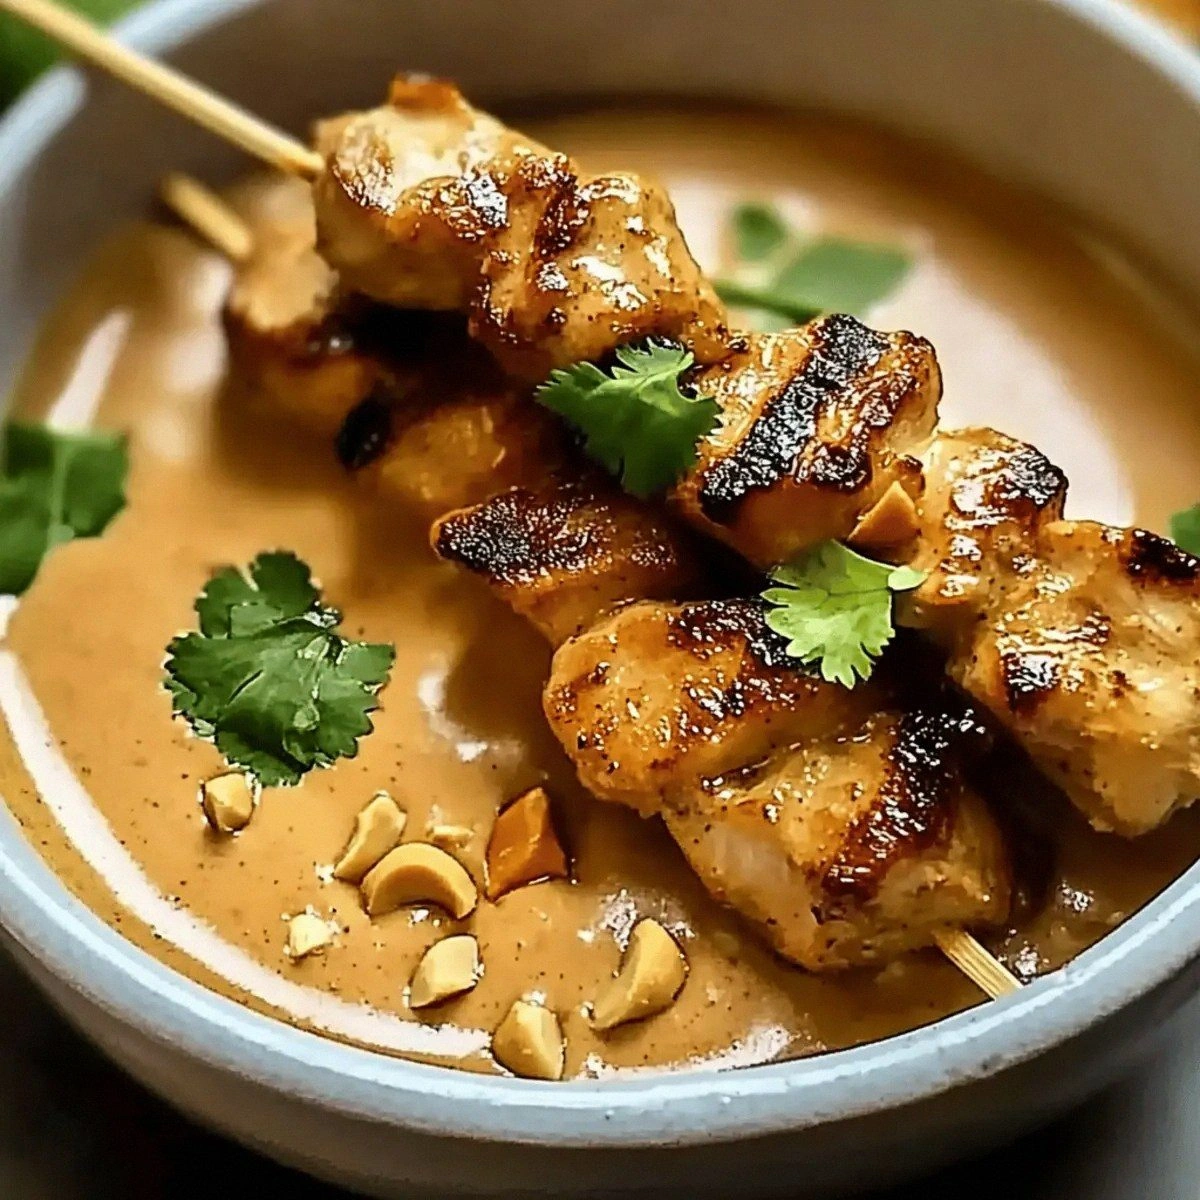
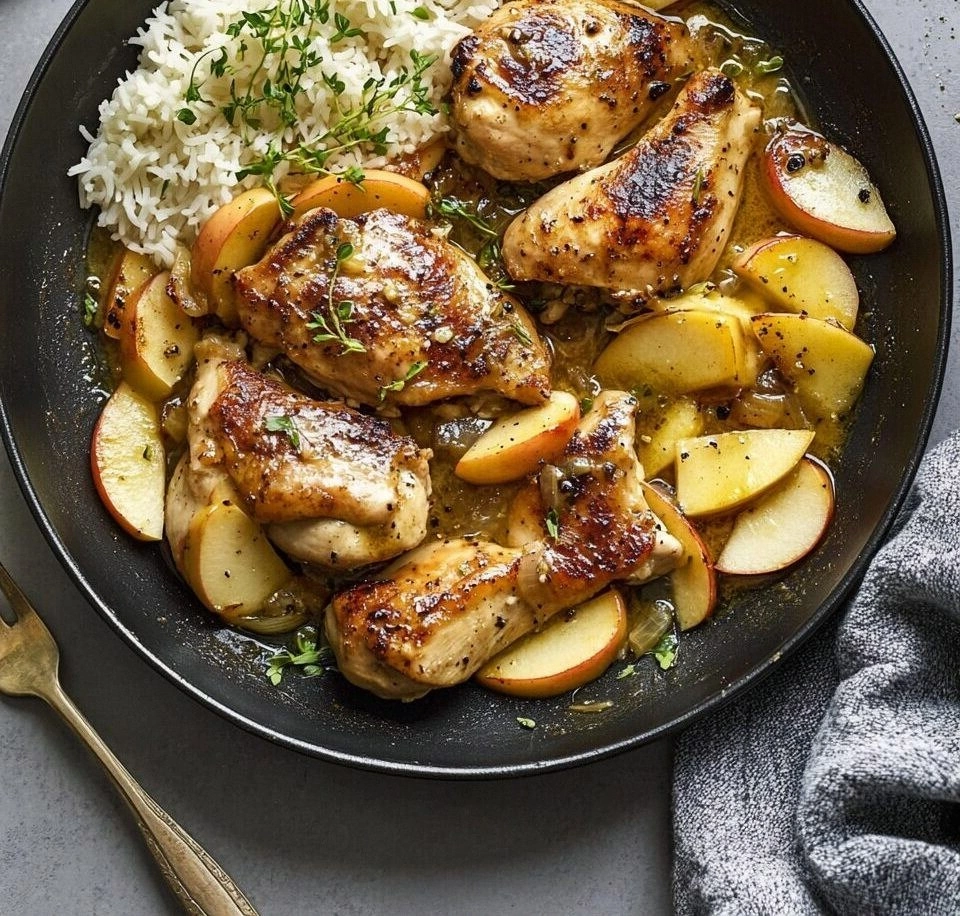
One-Pan Chicken Apple Skillet
Last night I was scrambling to salvage a dinner that had gone wrong. The oven was still smoking from a burnt lasagna, the fridge was a chaotic jumble of leftovers, and my guests were already arriving. I stared at the empty counter, wondering how to turn a culinary catastrophe into a triumph. Then I remembered a recipe I'd stumbled upon weeks ago—one that promised a single skillet, minimal cleanup, and a flavor profile that could lift any dull evening. I decided to give it a shot, and what followed was a kitchen alchemy that turned panic into applause.
As soon as the skillet hit the stove, the air filled with the buttery scent of sautéed onions and garlic, mingling with the crisp aroma of fresh apples. The sizzling sound was like a drumbeat, announcing the start of a savory show. Every glance at the pan revealed a golden crust forming on the chicken, while the apples softened into tender, caramelized ribbons. The visual contrast of the amber apples against the deep brown chicken created a mouthwatering tableau. I could almost taste the sweet‑savory harmony before the first bite even touched my tongue.
What makes this version stand out is that it’s not just another “one‑pan” recipe. It’s a carefully balanced symphony of textures and flavors: the chicken’s juicy interior, the apples’ natural sweetness, the subtle bitterness of sautéed onions, and a sauce that coats everything like velvet. The sauce is thickened with a light flour roux, giving it a silky body that clings to the meat and fruit. The addition of honey and apple cider vinegar introduces a gentle tang that cuts through the richness. Every element is chosen to complement the others, ensuring that no single component dominates the plate.
And here’s the twist that will make you question every other “quick dinner” you’ve tried: the use of fresh sage and a splash of bourbon in the sauce. Those ingredients add a depth of flavor that feels almost decadent, yet they’re easy to incorporate and won’t overwhelm the dish. I dare you to taste this and not go back for seconds. Let me walk you through every single step—by the end, you’ll wonder how you ever made it any other way.
What Makes This Version Stand Out
- Flavor: The sauce is a harmonious blend of sweet, savory, and subtly smoky notes, achieved through the combination of apples, honey, and bourbon. It coats the chicken and apples with a silky glaze that enhances every bite.
- Texture: The chicken remains tender and juicy, while the apples develop a caramelized crust that provides a pleasant bite. The sauce thickens to a velvety consistency without becoming pasty.
- Convenience: All ingredients cook together in a single skillet, cutting prep time in half and eliminating the need for multiple pans. Cleanup is a breeze, making it ideal for busy weeknights.
- Ingredient Quality: Fresh, high‑quality produce and meats make the difference. Choosing firm apples and bone‑in chicken thighs yields a richer flavor profile.
- Versatility: The recipe scales easily and can be adapted for different protein choices or vegetarian versions without compromising taste.
- Make‑Ahead Potential: Leftovers reheat beautifully, and the sauce’s thickness helps keep the dish cohesive even after a day’s rest.
- Presentation: The caramelized apples and golden chicken create an eye‑catching dish that feels like a restaurant entrée.
Alright, let’s break down exactly what goes into this masterpiece…
Inside the Ingredient List
The Flavor Base
At the heart of the dish lies a trio of aromatics: onions, garlic, and fresh sage. The onions, when caramelized, release a natural sweetness that balances the savory chicken. Garlic adds a punch of depth, while sage brings a subtle piney undertone that complements the apple’s brightness. Skipping any of these will leave the dish feeling flat and underdeveloped.
The Protein Powerhouse
Bone‑in chicken thighs are the star of this skillet. They retain moisture better than skinless breasts, ensuring juicy bites that contrast nicely with the crisp apples. If you prefer a leaner option, skinless breasts can be used, but be careful not to overcook them or they’ll become dry. For a plant‑based twist, firm tofu or tempeh can substitute, though the flavor profile will shift slightly.
The Sweet & Tangy Star
Apples are the unexpected hero of this recipe. Their natural sugars caramelize when sautéed, creating a glossy glaze that clings to the chicken. The apple cider vinegar and honey introduce a subtle tang and sweetness that cuts through the richness. If you’re in a pinch, pears or peaches can replace apples, but the flavor balance will change.
The Thickening & Finish
Flour is used sparingly to thicken the sauce, giving it a silky texture that coats everything. The splash of bourbon adds depth and a hint of vanilla‑like warmth that pairs beautifully with the apples. A pinch of salt and pepper rounds out the seasoning, ensuring each bite is perfectly balanced. If you’re avoiding alcohol, a small amount of bourbon substitute or a splash of extra apple cider vinegar can work.
Everything’s prepped? Good. Let’s get into the real action…
The Method — Step by Step
- Season the Chicken: Pat the chicken thighs dry with paper towels, then season both sides generously with salt, pepper, thyme, and rosemary. The seasoning should coat the meat like a fine dusting. Let the chicken rest at room temperature for 10 minutes; this ensures even cooking.
- Brown the Chicken: Heat a large skillet over medium‑high heat and add the olive oil. Once the oil shimmers, place the chicken thighs skin‑side down (if using skinless, just place them). Sear for 4–5 minutes until a golden crust forms, then flip and brown the other side for another 3 minutes. The goal is a caramelized exterior that locks in juices.
- Set the Chicken Aside: Remove the browned chicken from the skillet and set it on a plate. Cover loosely with foil to keep it warm. This step frees up space for the aromatics and prevents overcrowding.
- Sauté Aromatics: In the same skillet, reduce the heat to medium and add the butter. Once melted, toss in the diced onion and a pinch of salt. Cook, stirring frequently, until the onions turn translucent and start to brown, about 5 minutes. The butter adds a rich flavor that complements the chicken.
- Add Garlic & Sage: Stir in the minced garlic and fresh sage leaves. Let them sizzle for 30 seconds, just enough to release their oils without burning. The aroma should be intoxicating and signal that the base is ready.
- Introduce Apples: Add the sliced apples to the skillet. Stir to coat them in the butter‑onion mixture. Cook for 3–4 minutes until the apples begin to soften but still hold their shape. The apples should start to develop a caramelized crust.
- Deglaze & Thicken: Sprinkle the flour over the apples, stirring constantly to avoid lumps. Cook for 1 minute to remove the raw flour taste. Pour in the chicken broth and apple cider vinegar, then whisk to combine. The sauce should thicken into a glossy, silky consistency.
- Finish the Sauce: Stir in the honey and bourbon (or substitute). Bring the mixture to a gentle simmer, allowing the flavors to meld for 5 minutes. The sauce should reduce slightly, becoming rich and fragrant.
- Return Chicken: Nestle the browned chicken thighs back into the skillet, spooning some sauce over the top. Cover the skillet with a lid and let the dish simmer for 12–15 minutes, or until the chicken reaches an internal temperature of 165°F. The sauce should cling to the chicken and apples.
- Final Touches: Remove the lid, sprinkle chopped walnuts or pecans for crunch, and let the sauce thicken further for 2 minutes. Plate the chicken and apples, spooning extra sauce over the top. Garnish with fresh sage leaves for a burst of color.
That’s it — you did it. But hold on, I've got a few more tricks that'll take this to another level…
Insider Tricks for Flawless Results
The Temperature Rule Nobody Follows
Many people cook at a steady medium heat, but the secret is a two‑phase approach: start high to sear the chicken, then lower to finish. This ensures a crisp exterior without overcooking the interior. I’ve tried cooking the entire dish at medium, and the chicken ended up rubbery. By reducing the heat after browning, the sauce has time to thicken naturally.
Why Your Nose Knows Best
Before you even taste the dish, the aroma should be inviting. If the scent feels flat or overly sweet, you’re missing a key step. The caramelization of onions and apples releases natural sugars that give depth. If the smell is too sharp, add a splash of butter to round it out.
The 5‑Minute Rest That Changes Everything
After cooking, let the skillet rest covered for 5 minutes before serving. This allows the juices to redistribute throughout the chicken, resulting in a more succulent bite. I once skipped this step, and the meat felt dry. The rest period is a small price for a big flavor payoff.
Use Fresh Apples Over Canned
Canned apples lack the crispness and natural sugars that fresh produce offers. They also introduce excess liquid that can dilute the sauce. Fresh apples give a bright, lively taste that complements the savory elements. If you’re in a hurry, choose pre‑sliced apples to save prep time.
Don’t Skip the Flour
Flour is the unsung hero that thickens the sauce into a silky coating. Skipping it will leave the dish watery and unbalanced. If you’re gluten‑free, substitute with a teaspoon of cornstarch dissolved in a tablespoon of cold water.
Watch the Broth Level
Too much broth can make the sauce thin and watery. Keep the liquid level just below the apples; the sauce should reduce to a glossy glaze. If you notice the pan drying out, add a splash of broth or water to maintain moisture.
Creative Twists and Variations
This recipe is a playground. Here are some of my favorite ways to switch things up:
Maple Bourbon Chicken
Swap honey for pure maple syrup and use a splash of bourbon instead of apple cider vinegar. The result is a deeper, caramel‑rich flavor that pairs wonderfully with a side of roasted sweet potatoes.
Spicy Apple‑Chili Skillet
Add a pinch of crushed red pepper flakes when sautéing the onions. The heat will contrast with the sweet apples, giving the dish a lively kick. Serve over quinoa for a protein‑packed meal.
Herb‑Infused Variation
Replace rosemary with dried tarragon and add a handful of fresh parsley at the end. This gives the dish a bright, herbaceous finish that feels like a springtime dinner.
Vegetarian Version
Use firm tofu or tempeh in place of chicken. Marinate the protein in a mixture of soy sauce, garlic, and a touch of maple syrup before cooking. The tofu will absorb the sauce and become a savory, plant‑based centerpiece.
Cheese‑Topped Finale
Sprinkle shredded Gruyère or sharp cheddar over the chicken during the last 2 minutes of cooking. The cheese will melt into the sauce, adding a creamy layer that makes the dish feel indulgent.
Low‑Carb Take
Omit the apples and replace them with sautéed mushrooms. The mushrooms will soak up the sauce and provide a meaty texture that satisfies without the carb load.
Storing and Bringing It Back to Life
Fridge Storage
Cool the skillet to room temperature, then transfer the chicken and sauce to an airtight container. Store in the refrigerator for up to 3 days. The sauce will thicken slightly, so add a splash of broth or water when reheating.
Freezer Friendly
Divide the dish into individual portions and wrap each tightly in plastic wrap, then place in a freezer bag. Freeze for up to 2 months. Thaw overnight in the refrigerator before reheating.
Best Reheating Method
Reheat on the stovetop over low heat, stirring occasionally and adding a small amount of broth to loosen the sauce. Bring to a gentle simmer until hot throughout. The dish should feel moist and flavorful, not dry.