Picture yourself standing in your kitchen, the bell pepper slices glistening like tiny edible canvases, the air thick with the aroma of simmering tomato sauce and sizzling ground beef. I was there last week, juggling a blender of flavors that had been building up in my mind since that disastrous takeout night when a pizza‑filled pepper turned out soggy and bland. That night, I realized I could turn a simple stuffed pepper into a masterpiece that would make the whole house hum with anticipation. The secret? A bold blend of authentic pizza sauce, a medley of cheeses, and a few unexpected twists that elevate texture and flavor. I dare you to taste this and not go back for seconds.
I’ve spent countless evenings wrestling with recipes that promise “pizza in a pepper” but deliver only a sad, soggy mess. Most of these fail because they ignore the importance of a firm pepper shell, a balanced cheese blend, and a sauce that sings. This version, however, is hands down the best you’ll ever make at home. From the first bite, you’ll notice the pepper’s crispness giving way to a molten, cheesy center that oozes like a perfectly melted mozzarella strip. The sauce coats the pasta like velvet, while the edges crackle with a buttery crunch that shatters like thin ice.
I’m not just telling you this is good; I’m showing you why it stands apart. The pepper halves are pre‑baked just enough to give them a golden edge, preventing them from turning mushy when the filling is added. The cheese blend—mozzarella, Parmesan, and a touch of cheddar—creates a layered melt that’s both gooey and flavorful. The sauce is seasoned with Italian herbs, garlic, and a splash of olive oil to deepen its richness. And the finishing touch of fresh basil adds a burst of brightness that cuts through the richness, making every bite feel fresh and alive.
I’ll be honest—when I first tasted the finished dish, I ate half the batch before anyone else got to try it. The combination of textures and flavors was so compelling that I could not resist. The pepper shell’s crispness, the cheese’s silky melt, and the sauce’s tang all dance together. The result is a dish that feels like a pizza party inside a bell pepper, with every bite delivering a punch of satisfaction. Picture yourself pulling this out of the oven, the whole kitchen smelling incredible, and your friends gasping as they take their first bite.
If you've ever struggled with this, you're not alone—and I've got the fix. The trick is to treat the peppers like mini pizza pies, giving them a head start in the oven and then letting the cheese and sauce do the rest. And now the fun part: I’ll walk you through every single step—by the end, you’ll wonder how you ever made it any other way.
What Makes This Version Stand Out
- Flavor: The sauce is a robust blend of crushed tomatoes, garlic, and Italian seasoning that simmers to a rich, aromatic base. It’s the kind of sauce that could replace your favorite pizza sauce on a plate or in a jar.
- Texture: The pepper shells are pre‑baked until they’re golden and slightly crisp, creating a contrast with the molten cheese center that feels like biting into a perfect slice of pizza.
- Cheese Blend: A harmonious trio of mozzarella, Parmesan, and cheddar melts together to produce a gooey, flavorful coating that’s more complex than plain mozzarella alone.
- Convenience: All steps fit into a 45‑minute window, and you can prep the filling ahead of time for a quick weeknight dinner.
- Make‑Ahead: Assemble the peppers, cover, and refrigerate for up to 24 hours before baking—great for busy families or meal‑prep enthusiasts.
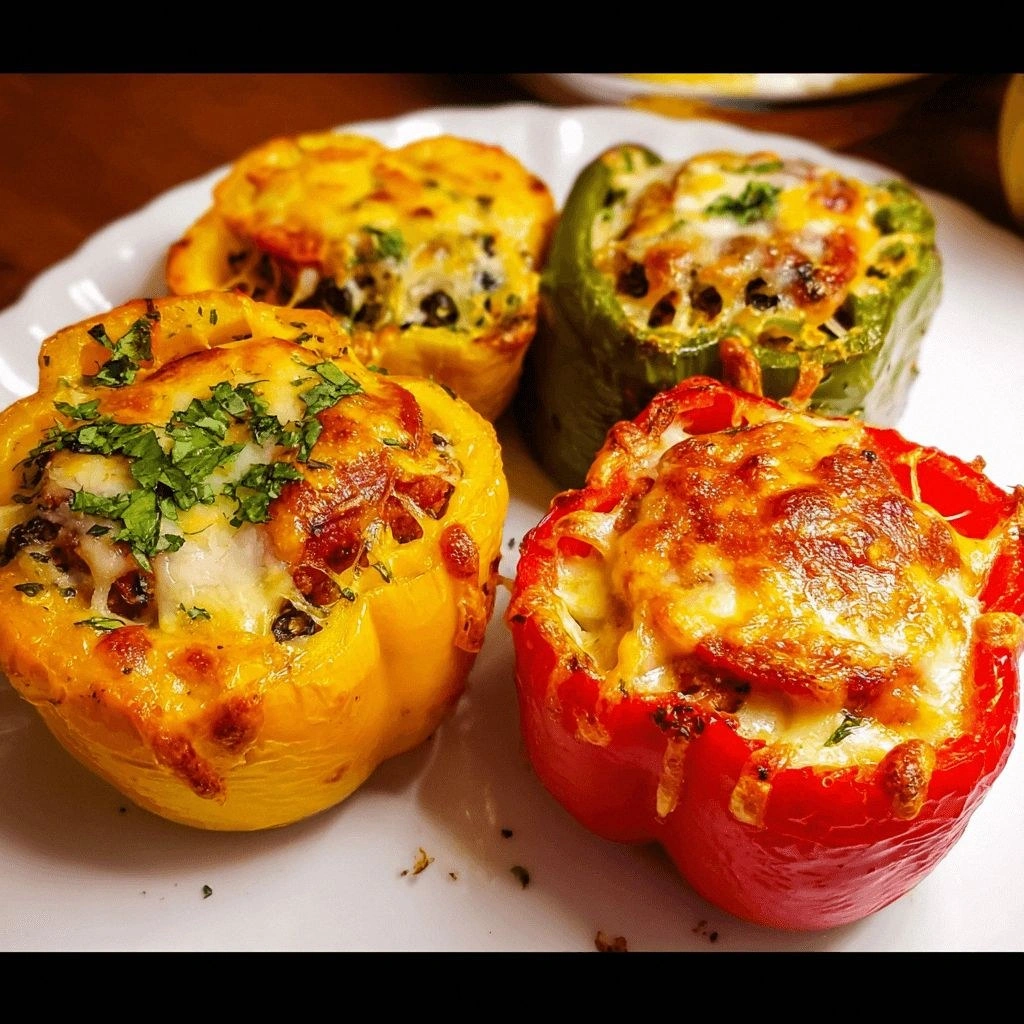
- Visual Appeal: The golden cheese topping and vibrant pepper halves make the dish Instagram‑ready, ensuring it looks as good as it tastes.
- Crowd‑Pleaser: The familiar pizza flavor combined with a fresh pepper crunch makes this dish a hit at parties, potlucks, or a cozy family dinner.
- Ingredient Quality: Using high‑quality, fresh ingredients—like a good mozzarella and real Italian herbs—elevates the entire dish.
Alright, let's break down exactly what goes into this masterpiece...
Inside the Ingredient List
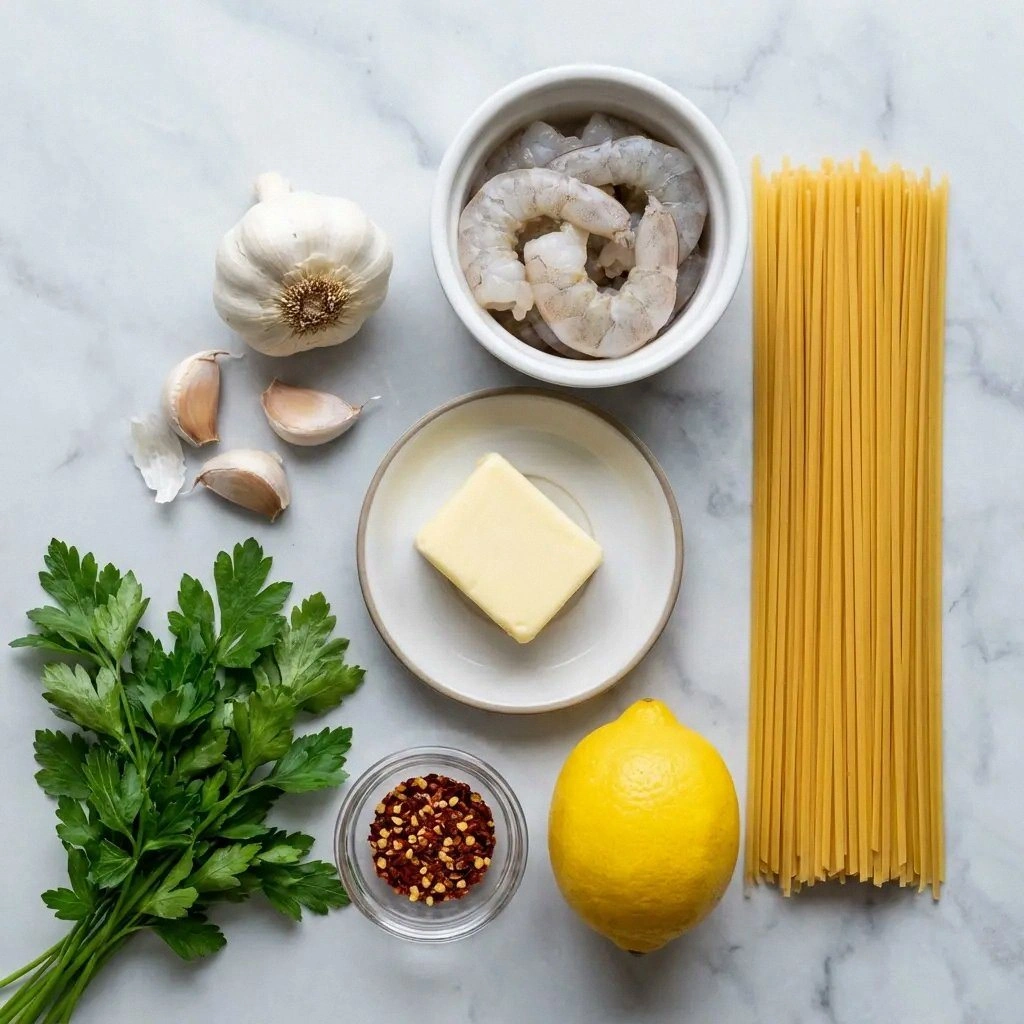
The Flavor Base
The foundation of any great pizza‑inspired dish is the sauce, and here we’re using a robust, homemade pizza sauce that brings depth to every bite. The crushed tomatoes provide a bright acidity, while the garlic powder and onion powder add a savory backbone. The Italian seasoning ties everything together, giving the sauce a familiar, comforting aroma. If you skip this step, you’ll end up with a bland, uninspired filling that can’t carry the cheese or pepper flavors.
Swap the crushed tomatoes for a diced tomato base if you prefer a chunkier texture, or add a splash of red wine for a richer, more complex flavor profile. When selecting tomatoes, look for ones that are ripe and slightly firm—this ensures the sauce won’t become too watery during cooking. A good rule of thumb: the closer the tomatoes are to their natural sweetness, the less sugar you’ll need to balance the acidity.
The Texture Crew
The bell peppers themselves are the unsung heroes of this recipe. Choosing bell peppers that are firm, glossy, and free of blemishes ensures a crisp shell that resists becoming soggy. Cutting them into halves and removing the seeds creates a clean, uniform shape that holds the filling perfectly. If you prefer a milder pepper flavor, opt for yellow or orange peppers; for a slightly sweeter bite, red peppers are ideal.
The ground beef provides a hearty protein base that absorbs the sauce’s flavors. Using 80% lean beef balances moisture and richness—leaner cuts can dry out, while fattier cuts may become greasy. If you’re vegan or vegetarian, substitute the beef with a plant‑based crumble or lentils for a similar texture. A quick tip: brown the beef in a hot skillet, letting the fat render, then drain before adding the sauce to prevent excess moisture.
The Unexpected Star
The cheese blend is the heart of the dish, delivering that signature gooey, melty experience. Mozzarella offers the classic stretch, Parmesan adds a nutty, salty bite, and cheddar contributes a subtle sharpness that balances the richness. A pinch of fresh basil sprinkled on top before serving adds a burst of green freshness that cuts through the savory layers. If you’re lactose intolerant, try a blend of lactose‑free mozzarella and a mild cheddar alternative.
The breadcrumbs and egg bind the filling together, preventing the mixture from spilling out during baking. The breadcrumbs absorb excess moisture, while the egg adds structure and a slight fluffiness. If you’re avoiding gluten, replace the breadcrumbs with crushed crackers or a gluten‑free breadcrumb mix. The olive oil not only adds a silky texture but also helps the cheese melt evenly.
Everything's prepped? Good. Let's get into the real action...
The Method — Step by Step
- Preheat your oven to 375°F (190°C). Arrange the pepper halves on a baking sheet, cut side up, and brush them lightly with olive oil. Sprinkle a pinch of salt on the bottom of the sheet to prevent sticking. Bake for 10 minutes until the edges start to turn golden. This step locks in the pepper’s natural sugars and gives a crisp base that will hold the filling.
- While the peppers are baking, heat a large skillet over medium heat and add the ground beef. Break it apart with a spatula and cook until it’s browned and crumbly, about 5–7 minutes. Drain the excess fat to keep the filling from becoming greasy. This is the moment of truth—watch the beef sizzle and feel the aroma rise.
- Add the pizza sauce to the browned beef and stir to combine. Let the mixture simmer for 3–4 minutes so the flavors meld together. The sauce should thicken slightly and develop a fragrant, toasty aroma. If it’s too watery, let it simmer a bit longer or add a teaspoon of tomato paste.
- Stir in the cooked quinoa or rice, mozzarella, Parmesan, cheddar, and Italian seasoning. Mix until the cheeses are fully melted and the mixture is silky smooth. The quinoa adds a subtle nutty flavor and helps absorb any excess sauce, keeping the filling from spilling.
- Whisk the egg and breadcrumbs together in a small bowl. Sprinkle this mixture over the cheese blend, then stir until everything is evenly coated. The egg and breadcrumbs act as a binder, ensuring the filling stays inside the pepper during baking.
- Spoon the filling into each pepper half, packing it firmly but not overstuffing. The peppers should be about three‑quarters full. This will give the filling room to expand as it melts, preventing a dry center.
- Return the stuffed peppers to the oven and bake for 20–25 minutes, or until the cheese is bubbling and slightly browned on top. The pepper shells should be tender but still hold their shape. The smell of melting cheese and roasted peppers will fill your kitchen, making the anticipation almost unbearable.
- Remove the peppers from the oven and let them rest for 5 minutes. This brief pause allows the filling to set slightly, making it easier to serve. Sprinkle fresh basil over the tops for a burst of color and brightness. Serve hot, straight from the oven, and watch your guests’ eyes widen at the sight of the golden, cheese‑laden peppers.
- Optional: For a crispy finish, place the stuffed peppers under the broiler for 1–2 minutes, watching closely to avoid burning. The cheese will develop a golden crust, adding an extra layer of texture that feels like a pizza crust.
- Serve immediately with a side of garlic bread or a light salad for a complete meal. The combination of the savory peppers and the fresh, crisp greens creates a balanced dining experience that satisfies both the palate and the eye.
That's it — you did it. But hold on, I've got a few more tricks that'll take this to another level...
Insider Tricks for Flawless Results
The Temperature Rule Nobody Follows
Many cooks bake stuffed peppers at 400°F, but the key to a perfectly melted cheese center is a slightly lower temperature of 375°F. This allows the peppers to cook through without the cheese burning. I once baked at 400°F and the cheese browned too quickly, leaving the inside raw. By dialing back the heat, the cheese melts evenly, and the pepper’s interior stays moist.
Why Your Nose Knows Best
The aroma of a good pizza sauce is a reliable indicator of flavor depth. If the sauce smells slightly sweet and garlicky, it’s ready. If it has a sharp, acidic scent, let it simmer a bit longer. Your nose is a better judge of doneness than your eyes in this case.
The 5‑Minute Rest That Changes Everything
After removing the peppers from the oven, let them rest for at least five minutes. This brief pause allows the cheese to set, making the filling easier to slice and reducing the risk of it sliding out. It also lets the flavors meld, resulting in a more cohesive bite.
The Secret of Fresh Basil
Adding fresh basil at the end of baking, rather than during the filling, preserves its bright, green flavor. If you stir it in too early, the basil wilts and loses its punch. A handful of torn basil leaves tossed on top just before serving delivers a burst of freshness that cuts through the richness.
The Power of a Light Broil
A quick broil at the end adds a golden, slightly crisp top that mimics the crust of a pizza. Keep a close eye on the peppers to avoid burning; 1–2 minutes is usually enough. This step elevates the dish from comforting to show‑stopper.
Creative Twists and Variations
This recipe is a playground. Here are some of my favorite ways to switch things up:
Mediterranean Medley
Swap the ground beef for lamb mince and add chopped olives, sun‑dried tomatoes, and a sprinkle of oregano. The result is a Mediterranean twist that’s rich and aromatic. Serve with a side of tzatziki for a complete experience.
Spicy Mexican Fiesta
Replace the Italian seasoning with cumin, chili powder, and a dash of cayenne pepper. Add black beans and corn to the filling, and top with a dollop of sour cream and sliced jalapeños. The peppers now carry a bold, spicy flavor profile that’s perfect for summer gatherings.
Vegan Delight
Use a plant‑based ground crumbled tofu or tempeh instead of beef, and substitute dairy cheeses with a vegan mozzarella blend. Add sautéed mushrooms for umami depth. The dish remains hearty and satisfying while staying plant‑based.
Breakfast Boost
Fill the peppers with scrambled eggs, diced ham, and shredded cheddar. Top with a drizzle of maple syrup and a pinch of cinnamon. The sweet‑savory combo makes for a breakfast‑for‑dinner treat.
Dessert Pepper Surprise
For a sweet twist, fill the peppers with a mixture of ricotta, honey, and chopped fresh berries. Bake until the cheese is golden. Serve with a dusting of powdered sugar and a splash of lemon zest for a dessert that’s both sweet and tangy.
Storing and Bringing It Back to Life
Fridge Storage
Store leftovers in an airtight container for up to 3 days in the refrigerator. The peppers may become slightly softer after cooling, but the flavor remains robust. When reheating, cover the dish with foil to retain moisture.
Freezer Friendly
For longer storage, freeze the stuffed peppers in a freezer‑safe bag or container for up to 2 months. Thaw overnight in the refrigerator before reheating. Reheat in a preheated oven at 350°F for 20 minutes, or until hot and bubbly.
Best Reheating Method
Add a tiny splash of water or broth to the bottom of the baking dish before reheating. This steams the peppers, keeping the cheese moist and preventing it from drying out. Finish with a quick broil to re‑bloom the cheese top.